Many people ask:
What is the ND filter used for?
Do I need ND filter?
Which ND filter should I get?
And, why are ND filters so expensive?
So, Let’s start with the basics, what are the uses of ND filters in photography, what do they do, when to use them, and in which situations, or the effects they can create, and in the end we will finish with some tips and tricks.
What is the ND filter, and do I need ND filter?
As photographers, we use our cameras and lenses and all the settings that they have to offer us as tools to create the images that we have in our minds.
Even beginners know that there are gear limitations that will affect our shots, like when the shutter speed isn’t fast enough to freeze the action, which will cause a motion blur.
In most cases, you can make some adjustments on your camera or your lens and capture the photo you want, but even then, you will run up against limitations. Maybe there’s not enough light, or maybe there’s too much light. Now, if there’s not enough light and you’ve made all the adjustments that you can with your camera, like opening up the aperture or boosting the ISO and slowing down the shutter speed, then the next thing to do is add light like a flash or a constant light.
On the other hand, if things are too bright. You narrowed down your aperture, you bump up the shutter speed, and pulled down the ISO to the minimum and that’s still not enough.
Then the next thing to do is to put sunglasses on your lens. That’s what called a neutral density or ND filter. ND filters can help in several situations.
What are the uses of ND filters in photography?
If you are shooting in a strong light environment, during the day when it’s very bright, way too much light coming into the camera, and you want to achieve a shallow depth of field, then you will want to use quite a wide aperture, that even in ISO 100 and a fast shutter speed might still let in too much light in. Adding an ND filter will block enough light so you can get the shot.
Another possibility is a long exposure to smooth out motion. Maybe you’ve done long exposures at night to gather enough light for a proper exposure, but what if it’s daylight, and you want to take a 20 or 30 second exposure of a waterfall so that it smooths out the water and makes it look silky. Adding an ND filter can sufficiently cut lights so you can do those longer exposures.
Maybe you are shooting some landscape photography, and you’re doing a very wide shot, and you want to take the brightness of the sky down. That would be a perfect time for a certain type of ND filter.
Types of ND filters
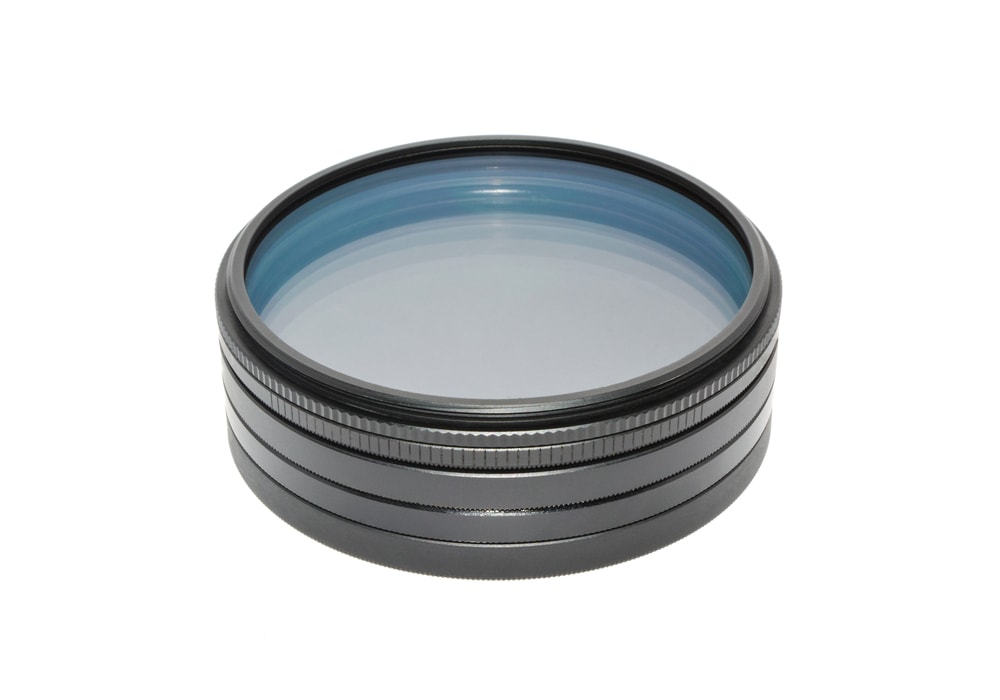
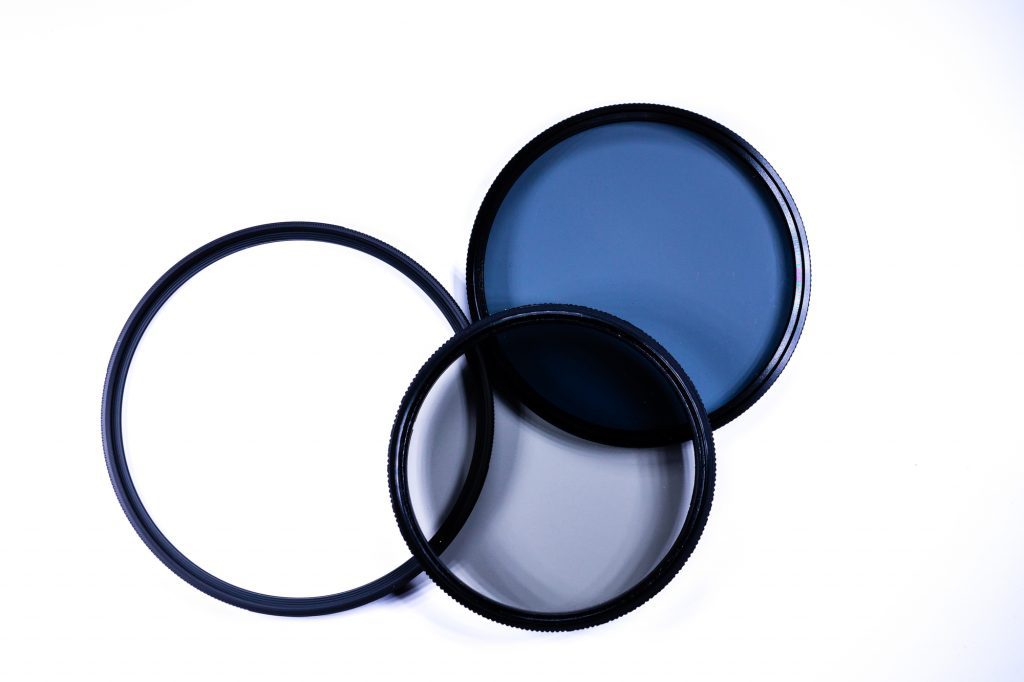
ND filters come in two different mounts, a screw-on round Mount, and the square filters that you slide into a mounted holder, and there are pros and cons to each of these mounting systems.
Screw-on round filters – you screw it to the front of your lens and you’ve got an ND filter on it. It’s as simple as that. But you need a filter that is as the same size as the front of your lens.
If you have several lenses in different sizes, you need either differently sized sets of filters or you can use something called a step-up or step-down ring so that those filters fit.
If you’re just starting out, you can find the size of your lens on the front of the lens, and go from there.
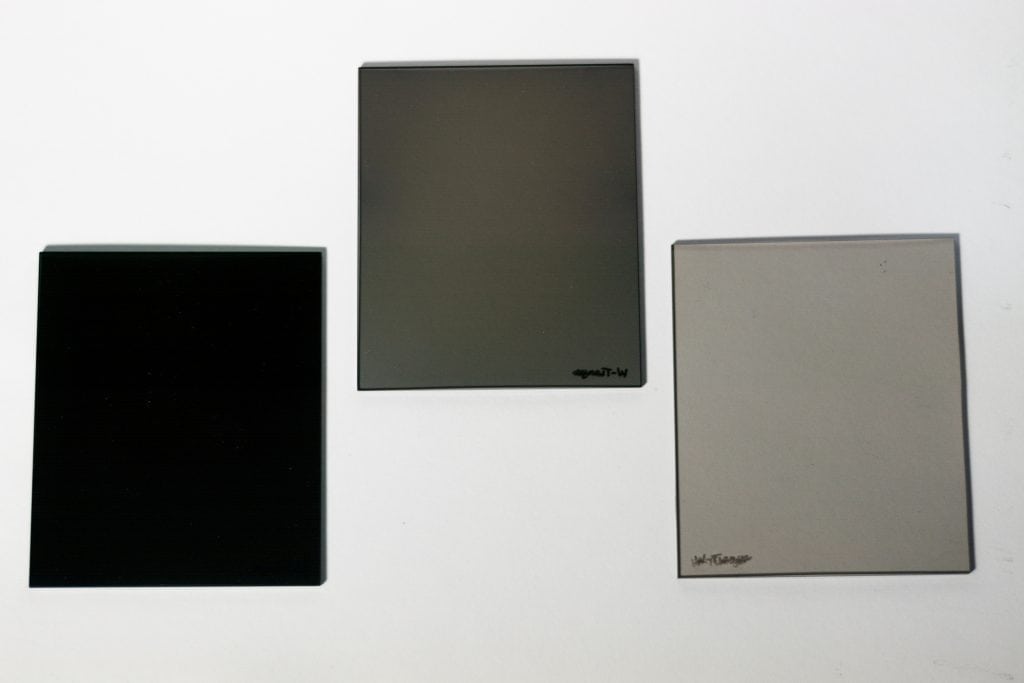
you can even stack the filters for more light reduction. Just note that combining several filters together is likely to degrade your image quality and you can also cause some vignetting on wider angle lenses.
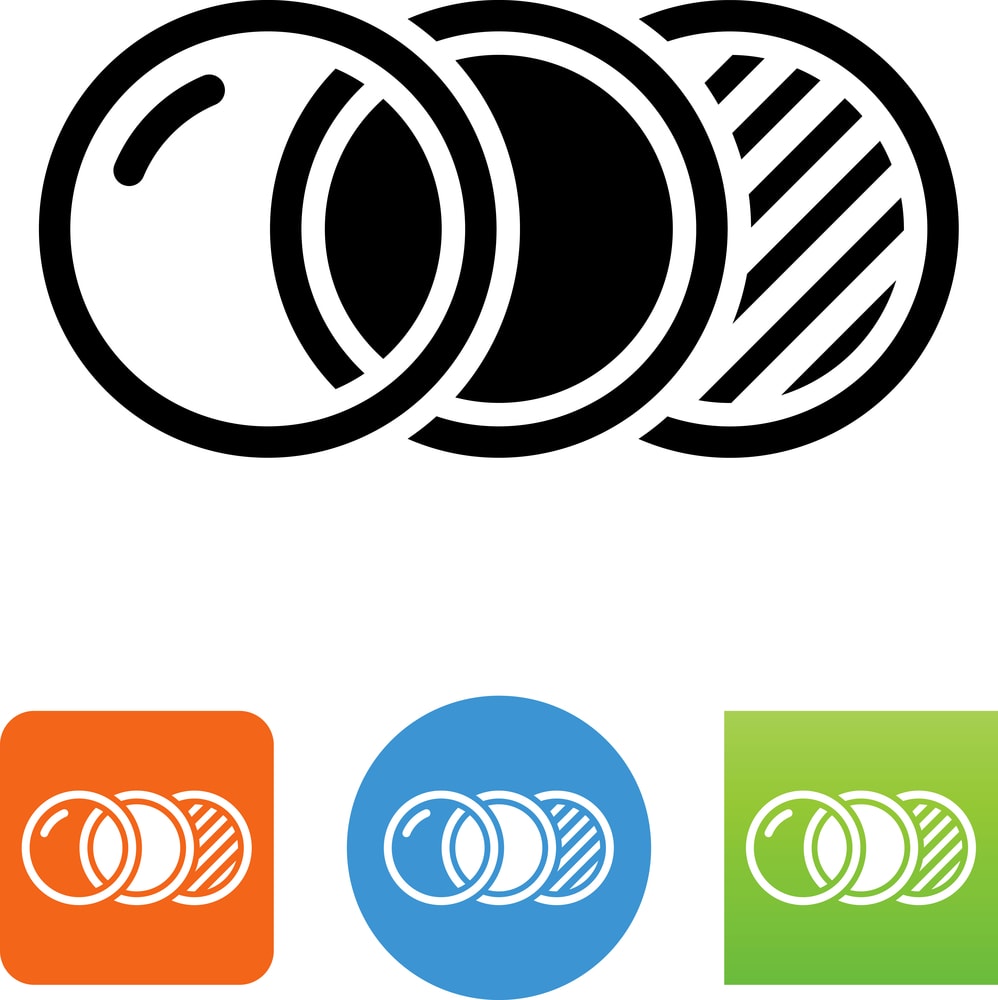
screw-on round Mount have a special kind of ND filters that calls variable ND filter. With these filters you don’t have to stack filters or changing to another filter, you can just dial in from that original ND stop up to 10 stops of neutral density (some of them even goes up to 11 stops).
Those filters tend to be more expensive than to simple ones. But you can buy one filter that will fit to your biggest lens, then, you get a step-up ring for all of your lenses to make the front filter thread the same as your biggest lens.
Don’t make the mistake of going out and purchase ND filter for every single one of your lenses, it will be very expensive.
Another thing that you should be aware to is the X effect and lens flare to one degree or another. Sometimes depending on the position of the sun and the dialed in values of your ND filter, you can see a Phantom X on the video, which is caused by the two polarizing foils being slightly out of alignment and causing vignetting on two sides of the image.
This effect is more prominent with wide angle lenses and it can be corrected by dialing your filter’s density back a little bit. And of course. Lens flare is always a possibility because you have flat glass in a bright environment catching the sun.
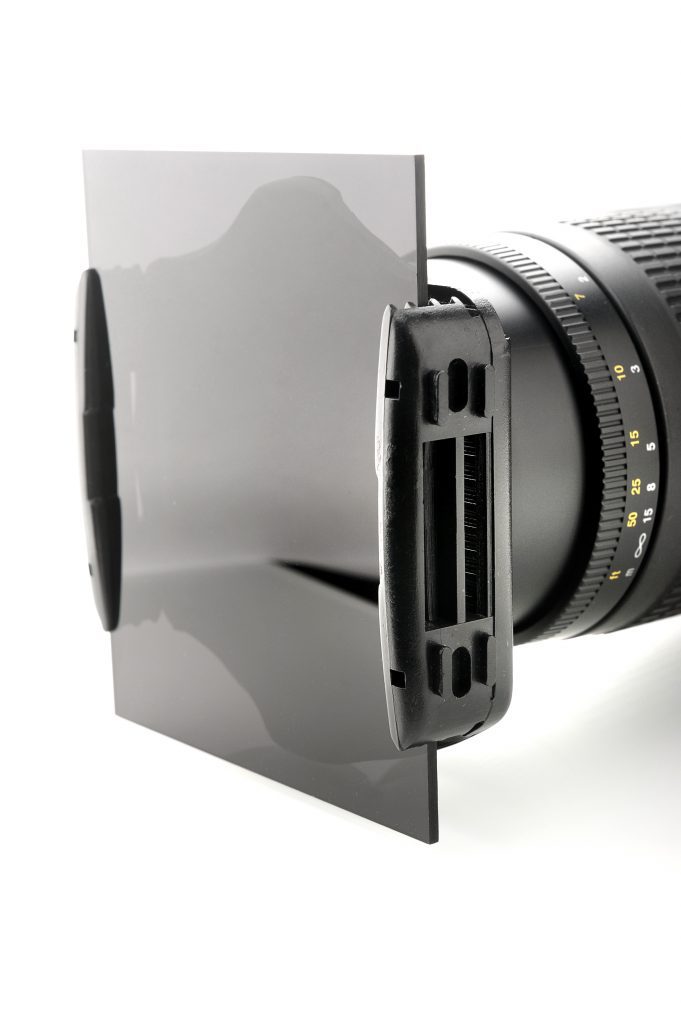
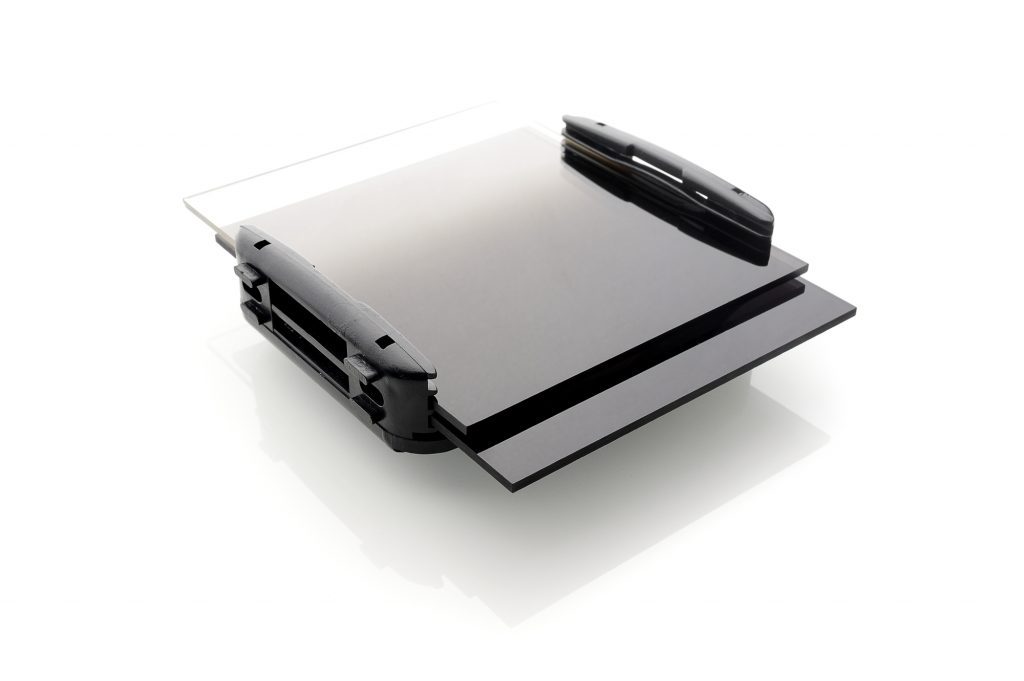
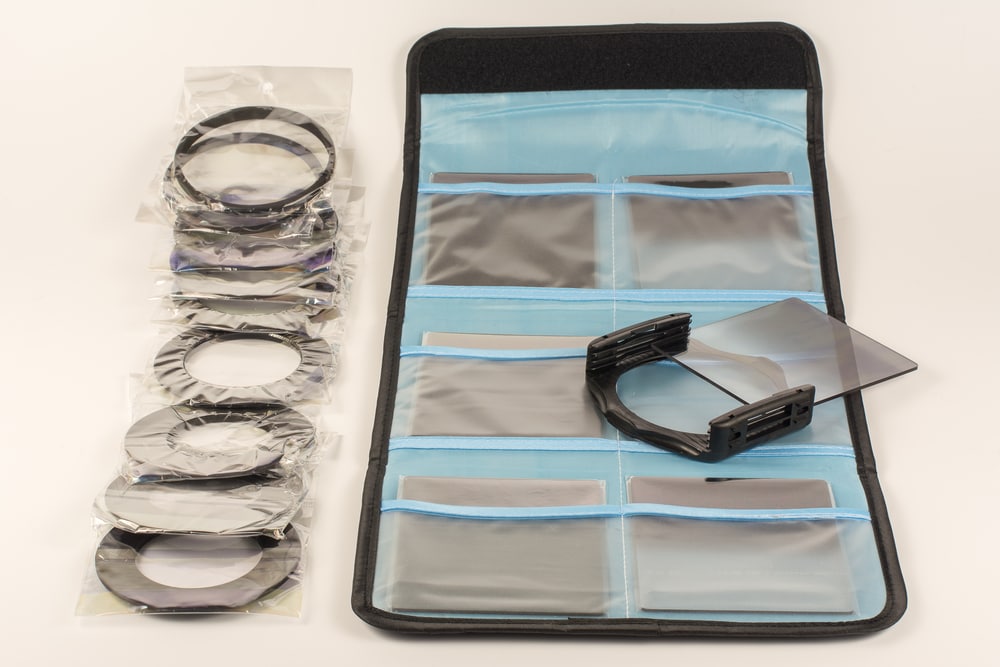
Mounted holder system for square filters – this system works in a similar way as the round screw-on filter does. It comes with a series of adapter rings in different sizes to fit your lens. In addition, you will have a square filter holder. Then you screw-on the right size adapter ring, and slide down the filter holder and clip the lit at the bottom to hold it steady.
Now you can slide down the square filters, and because most of these filter holders are made with several channels, you can stack these filters as well. Start your stack closest to the lens to avoid a light gap.
One last thing that worth mentioning is light leakage in broad daylight or with a strong light source behind you. It’s possible that enough light can enter through your optical view finder to affect your images. So, when making very long exposures, you’ll want to use a view finder cap or some sort of a patch to block out that light.
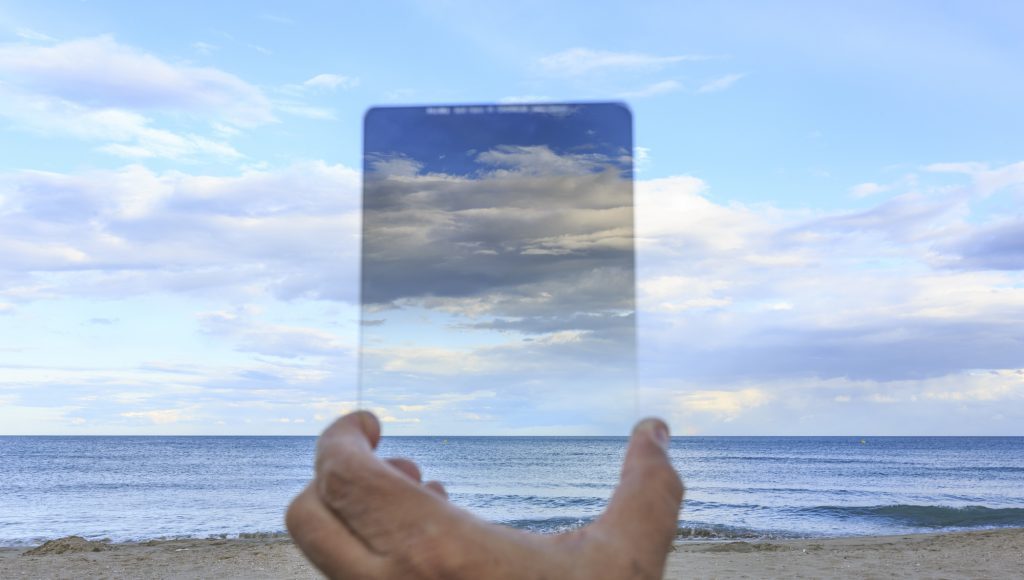
Square filters have a special kind of ND filters that calls Graduated ND filters. These ND filters are dark on one end, but clear on the other. Mainly use to darken the sky, and to balance out your exposures when shooting beautiful landscapes with rich skies.
Understanding filters stops & stop of light
Basically, ND filters are created in stops and a stop of light is just an amount of light. If you increased by one stop of light, you are doubling your light, if you go down by one stop of light, you will reduce the amount of light by half. So in photography you either doubling or reducing by 50% the amount of light, and making the picture one stop darker or one stop lighter.
When using filters, you will always be reducing the amount of light, which means that one stop ND filter will be stopping the light by 50% or half. So, if you are adding a 1 stop ND filter to a 2 seconds exposure time whiteout a filter, you will have to increase the time of exposure by 2 to 4 seconds.
| Exposure time | ND filter in Stops | New exposure time |
| 1 second | 1 | 2 seconds |
| 2 seconds | 1 | 4 seconds |
*** adding a 1 stop ND filter will make you increase the time of exposure by 2
Some manufacturers have different measurements, and they will address a 1 stop of light as an “optical density of 0.3” or “ND factor of 4”.
You can see in the attached table.
| ND filter in Stops | Optical density | ND factor |
| 1 | 0.3 | 2 |
| 2 | 0.6 | 4 |
| 3 | 0.39 | 8 |
| 4 | 1.2 | 16 |
| 5 | 1.5 | 32 |
| 6 | 1.8 | 64 |
| 7 | 2.1 | 128 |
| 8 | 2.4 | 256 |
| 9 | 2.7 | 512 |
| 10 | 3 | 1024 |
Just stick with the stops it’s the easiest, what is the number of stops the ND filter have.
Something to take into consideration is: you’ll notice is that nine stops of neutral density light blocking means that you can’t even see through the filters, even in bright light, which means you can’t even see to focus manually and auto-focus won’t work either. You’ll want to focus first. Then flip off your autofocus switch screw on your ND filter and take the shot.
Which ND filter should I get?
If you’re just starting with this technique, I would recommend that you get the cheaper ones, you have a couple of choices: the round screw-on the front of your lens. Those ones will be good enough to start with, and you can have a lot of fun with them. Or you can start with the square ones because you can put a square filter on any lens, and you can buy them as a kit, and it is fairly cheap. To start you off, you can get a two, three and four stops, you can even stack the filters for more light reduction. You can mix and match to get from five up to nine stops if you stack all three together.
If you are more advanced, you can buy higher quality filters from glass or even a true nano coated filter, or if you want to start with advanced landscape photography you can buy the gradient ND filter.
Why are ND filters so expensive?
The prices of the ND filters can vary from several measly dollars up to couple of hundred dollars. And it depends on a variety of things like the materials that the manufacturers are using, color accuracy and the thickness of the filter.
So, it does not have to be so expensive (BUT, it can be), you need to see what works for the kind of shooting that you plan to do, and that is right for you.
Some Tips, Tricks, & Special Effects for Conclusion
In the last part of the guide you will get some actionable tip and tricks to help you improve your skills, and to unleash your creativity.
In most cases, when you will use an ND filter, it would involve longer exposure, which means you will be working in the manual shooting mode because it is necessity so that you will have full control over both the shutter speed and the aperture settings.
Also, you will need to use a tripod. And even better to add a remote shutter release, your next challenge is to figure out how long your shutter will need to be open and easy way to do this is to set up an exposure without the ND filter, and think of that as your reference exposure.
Then make a note of your shutter speed, screw your filter or filters on and apply the number of additional stops indicated by the filter you’re using to your reference exposure. For example, if you have a base exposure of one second without the ND filters, once you add a one-stop filter, your exposure time will now be two seconds at the same aperture and ISO settings.
Remember, the best way to go about ND filter shooting is to set up the shot. Add the filter and calculate what adjusted shutter speed you should use.
Don’t worry if that seems a little complex to calculate, you can download a handy table for free at the end of that article.
We already mentioned smoothing out the water and makes it look silky.
You can take a shoot of a building or a landscape where everything is in sharp focus, but the scattered clouds in the sky have a smeared appearance. Just shoot along exposure that lets the clouds move a little bit while you’re building or landscape stands perfectly still.
You can reduce the visibility of moving objects, this works especially well when photographing architecture, town centers, or other busy areas. With a long exposure, you will be able to get a surreal ghostlike image of moving people that walk through your frame.
Last but not least tip for convenience is magnetic NF filters. These are super slim filter adapter rings.
You screw one on your lens and the other part onto your filter itself. Now those two rings match up perfectly and they instantly attached to one another magnetically.

