Do you want to draw an outline around your photo or maybe around a specific subject in your image?
There are a ton of options, ways, and methods to outline a photo or a subject with Adobe Photoshop like using the Select Subject option, Object Selection Tool, Quick Selection Tool, Magic Wand Tool, Etc.
To simplify the process, the steps to outline a photo are:
- Press Command or Control + J to duplicate your image layer.
- select your subject or the whole photo.
- double click on the layer to open the “Layer Panel”.
- Select and check the “Stroke” style.
- set the position to be Outside for a subject, or inside for the whole photo.
- choose the Size (width) of the outline, with the size slider, and the color.
You can outline almost everything you want, from an image, a subject or object, a shape, text and specific fonts, your signature Etc.
Let’s dive into all the different methods.
How to Add a Border Around an Entire Photo
Outlining the entire image in Photoshop is one of the basic methods.
Press Command or Control + J to duplicate your image layer. That way, you also create a backup layer, if you mess things up by mistake.
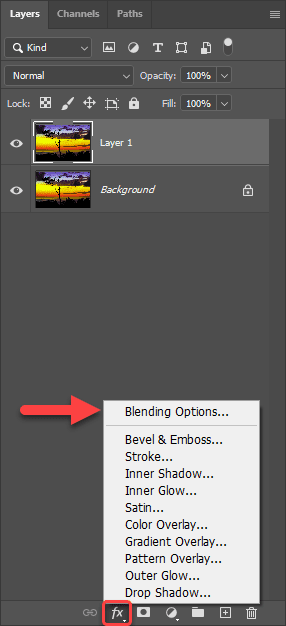
Add a Layer Style, Double click on the layer to open the “Layer Style Panel”. You can also click on the Add a layer style (fx) button and pick the Blending Options.
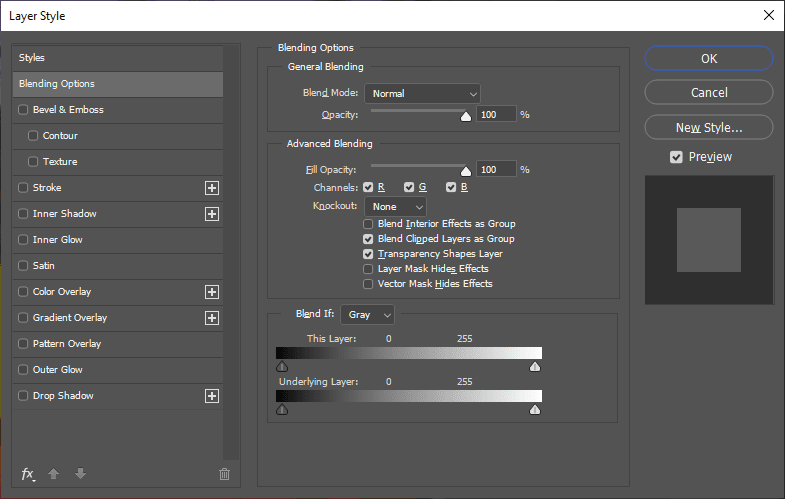
Select and check the “Stroke” style, in the Styles Panel, it’s important to set the Position to be Inside (this way you will be able to see the border straight away.
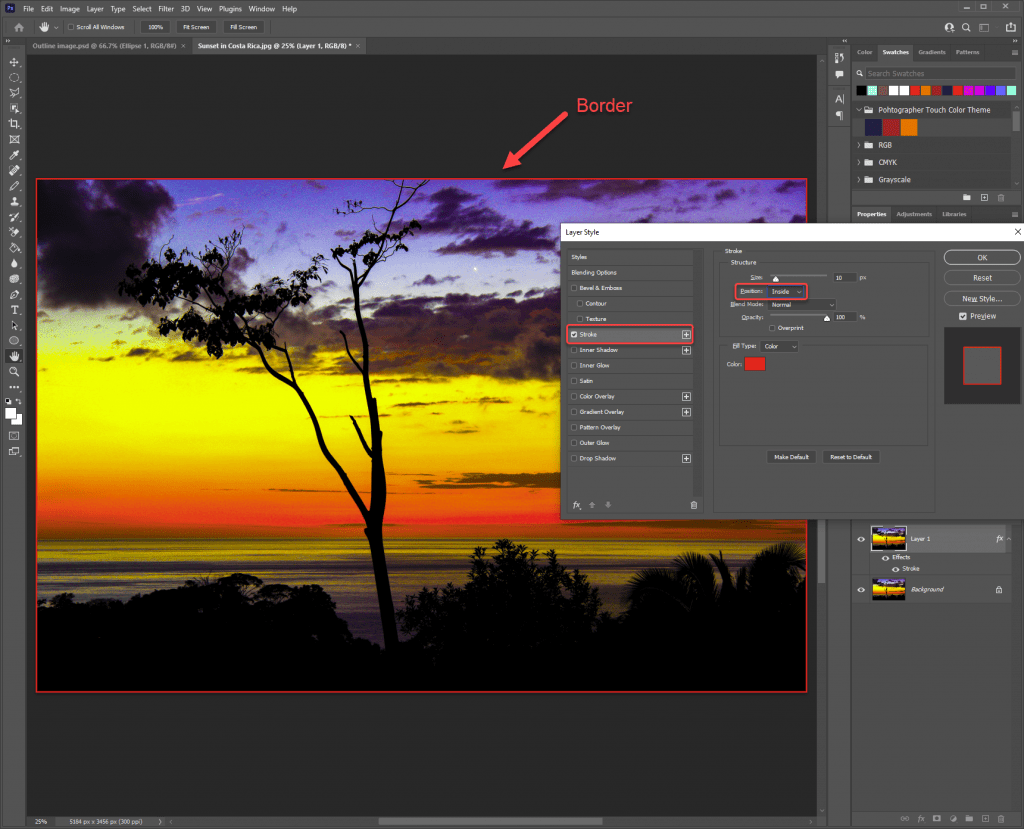
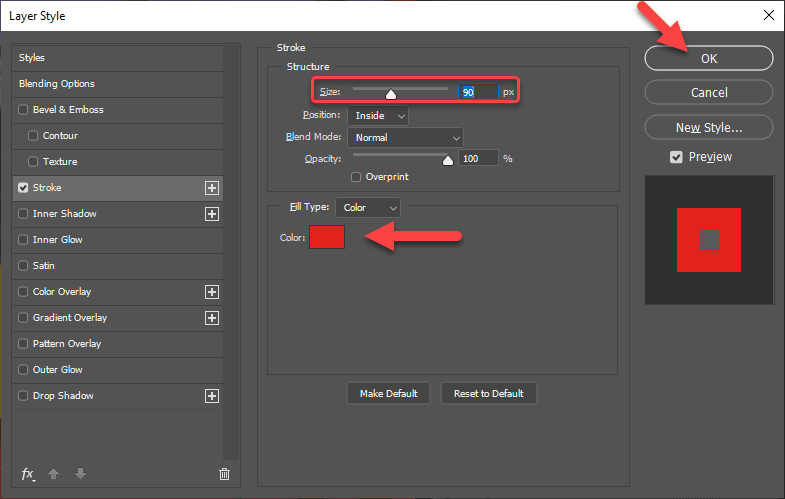
Set the size (width) of the outline, and the color.
Hit OK when you’re finished.
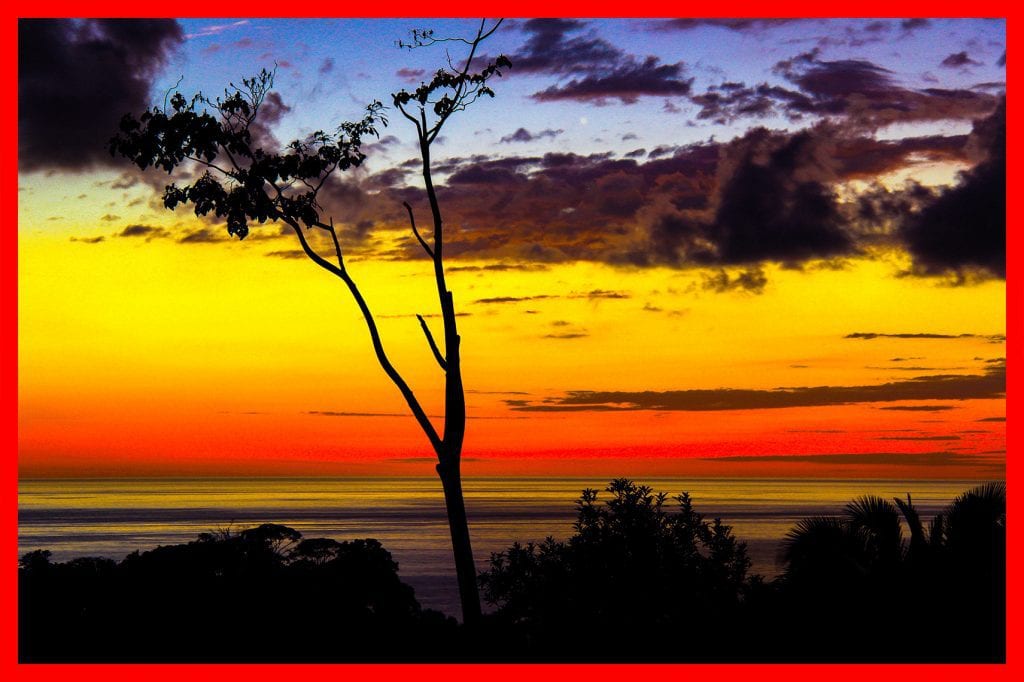
That’s it!
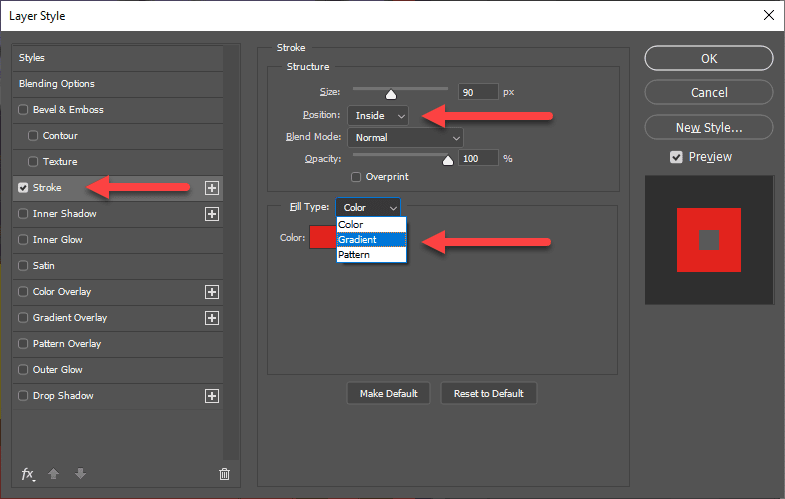
How To Add A Gradient Outline To An Image
If you want to add a little style to you’re outline, you can make it as a gradient.
The process is quite similar to the one we just talked about, you add an image layer (Command / Control + J). Open the Layer Style Panel by double click on the layer. Select and check the “Stroke” style, in the Stroke panel, remember to set the Position to be Inside. the difference here is in the Fill Type, you set it to be Gradient.
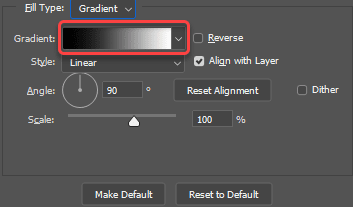
To set your own gradient, click on the Gradient to open a Gradient Editor window.
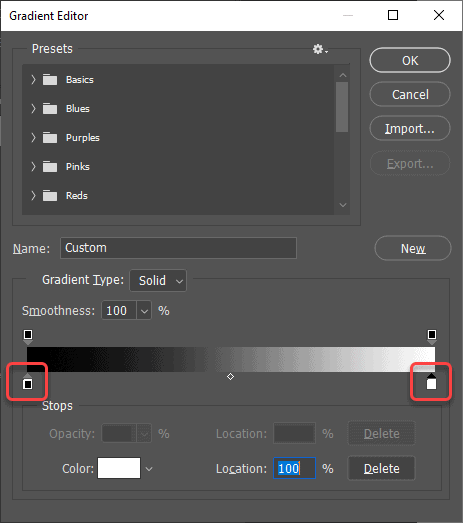
Double click on the Color Stop at either end of the gradient preview. A color picker will appear, allowing you to choose the colors you want.
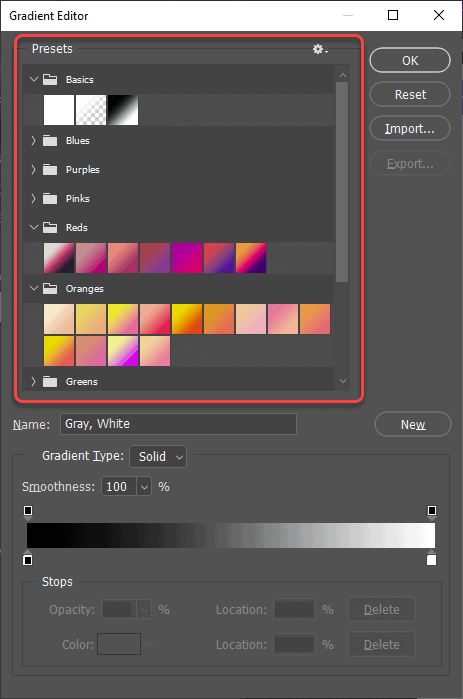
Another option you have on the Gradient Editor window is the built-in Gradient Presets you have on Photoshop.
A few notes to keep in mind when choosing a gradient:
- A gradient can add depth to your image, and it can also draw your readers attention to certain sections.
- To get colors to blend more naturally, and with a smoother transition, choose close colors on the color wheel.
- Remember, some color combinations will not work well together like, the transition from red to green or, from orange to blue.
- Take inspiration from nature, everywhere you look, you can see beautiful color combinations like the sunset, sunrise, autumn fall, the sky, trees, water, and much more.
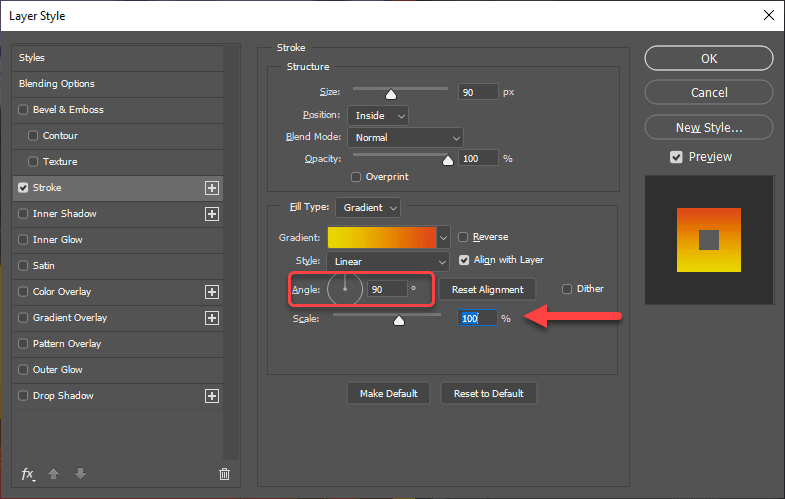
After you set and choose your gradient color, you can choose the Style, if you’re not sure just leave it as Linear.
Pick the Angle and Scale. the Scale will define the smoothness of the transition between the colors you chose. the higher it is, the smoother it will be.
That’s it!
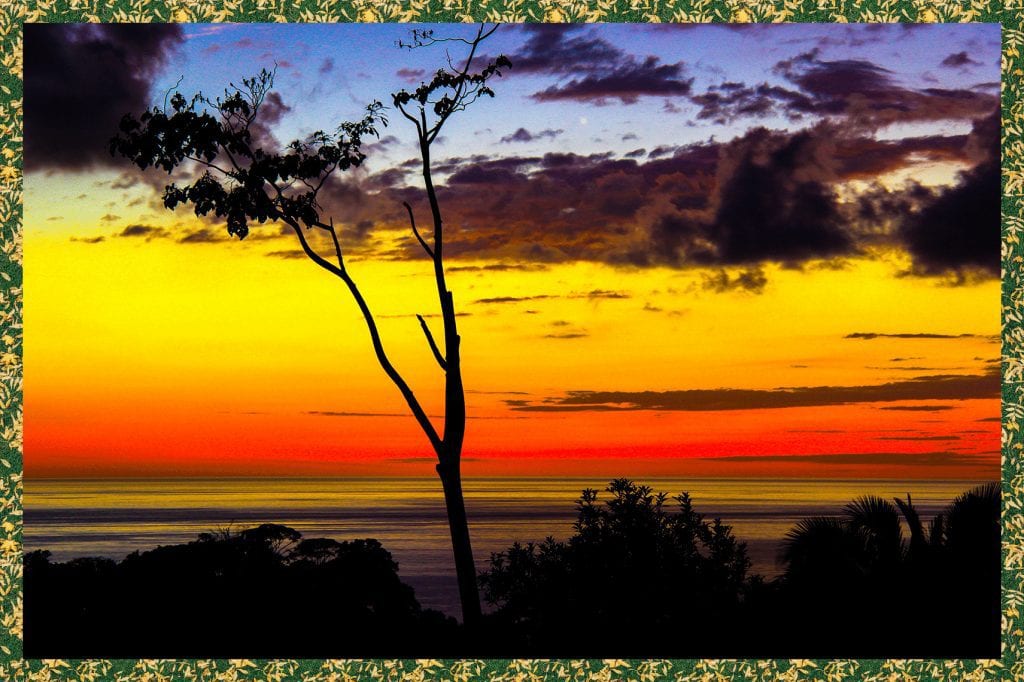
How To Outline An Image With A Texture
The last option you have to outline the border of your photo in Photoshop is with a texture or pattern. To do that, after you check the “Stroke” style, in the Stroke panel, and create your outline, you just set the Fill Type to Pattern.
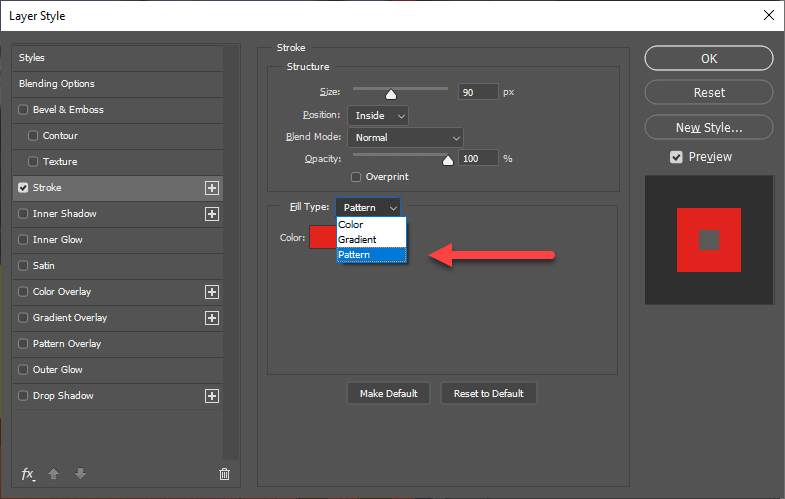
Click on Pattern, to open additional patterns to choose from. You will see the default options from Adobe Photoshop, or you also have the option to download new patterns if you have, or you can search online for free or paid options.

After you choose your pattern for your image outline, set the angle if necessary, and set the pattern’s Scale to better fit the look of your image.
That’s it!
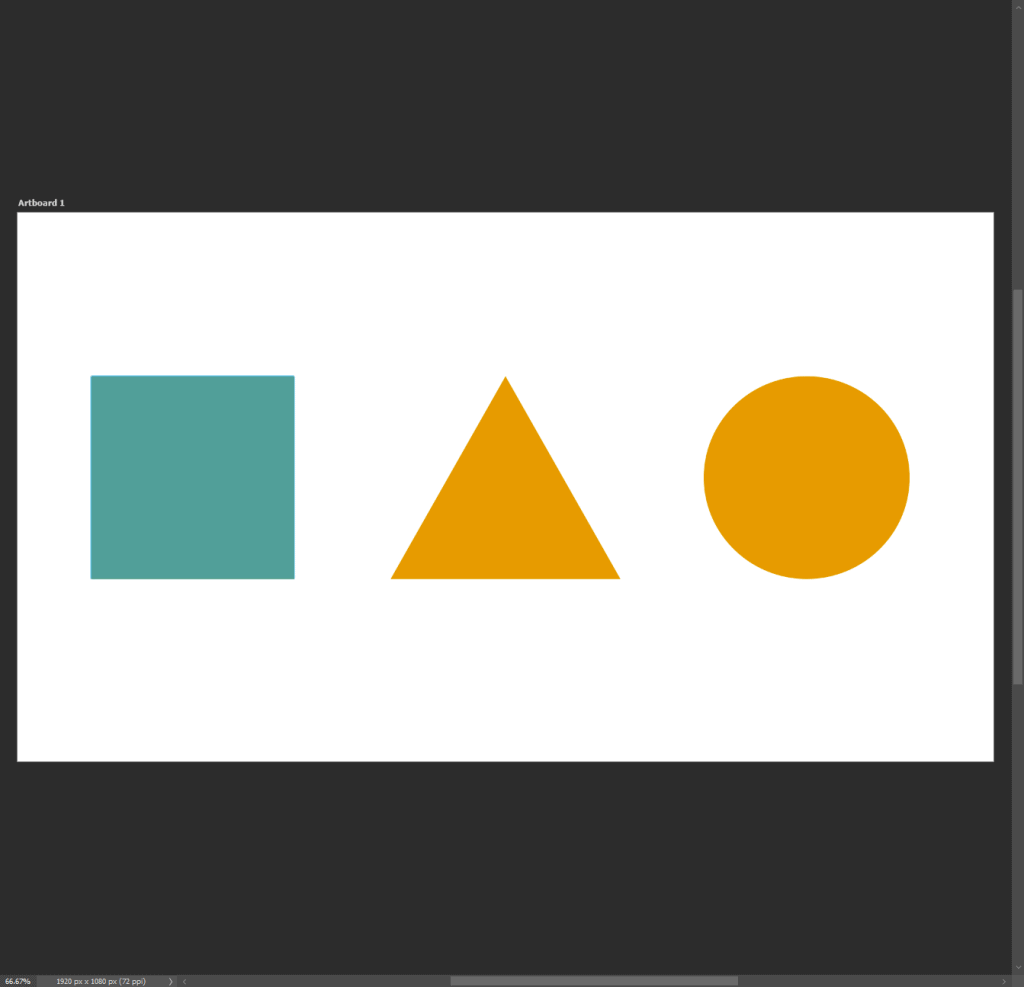
Add a Simple Outline Around a Subject in Photoshop
If you want to outline only around a specific subject, and not as an external border, you have many ways like using the Select Subject option, Object Selection Tool, Quick Selection Tool, Magic Wand Tool, Etc.
You also have freehand tools like the Lasso Tool, Polygonal Lasso Tool, or the Magnetic Lasso Tool. BUT they are not so good for this job.
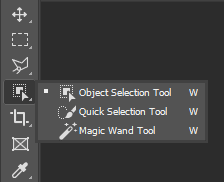
Here you will learn the easiest and quickest way by using the Object Selection Tool, it’s an automatic selection. Keep in mind that this tool is available in Photoshop CC 2020 or newer versions. If you have an earlier version of Photoshop, you can use the Quick Selection Tool With the Select Subject.
Select the Object Selection Tool, you can use the keyboard shortcut W, or from the toolbar.
If you have the latest version of Photoshop (Updated in Photoshop 23.0, on the October 2021 release), Ensure the Object Finder is enabled, the Mode is set to Rectangle.

Hover over the desired object to select (you’ll see the color changes), and just click on it.
Or you can click hold and drag with the mouse around your subject (this way, you can select multiple subjects together, you will see your selection boundary around the subjects), and Photoshop will select them for you.
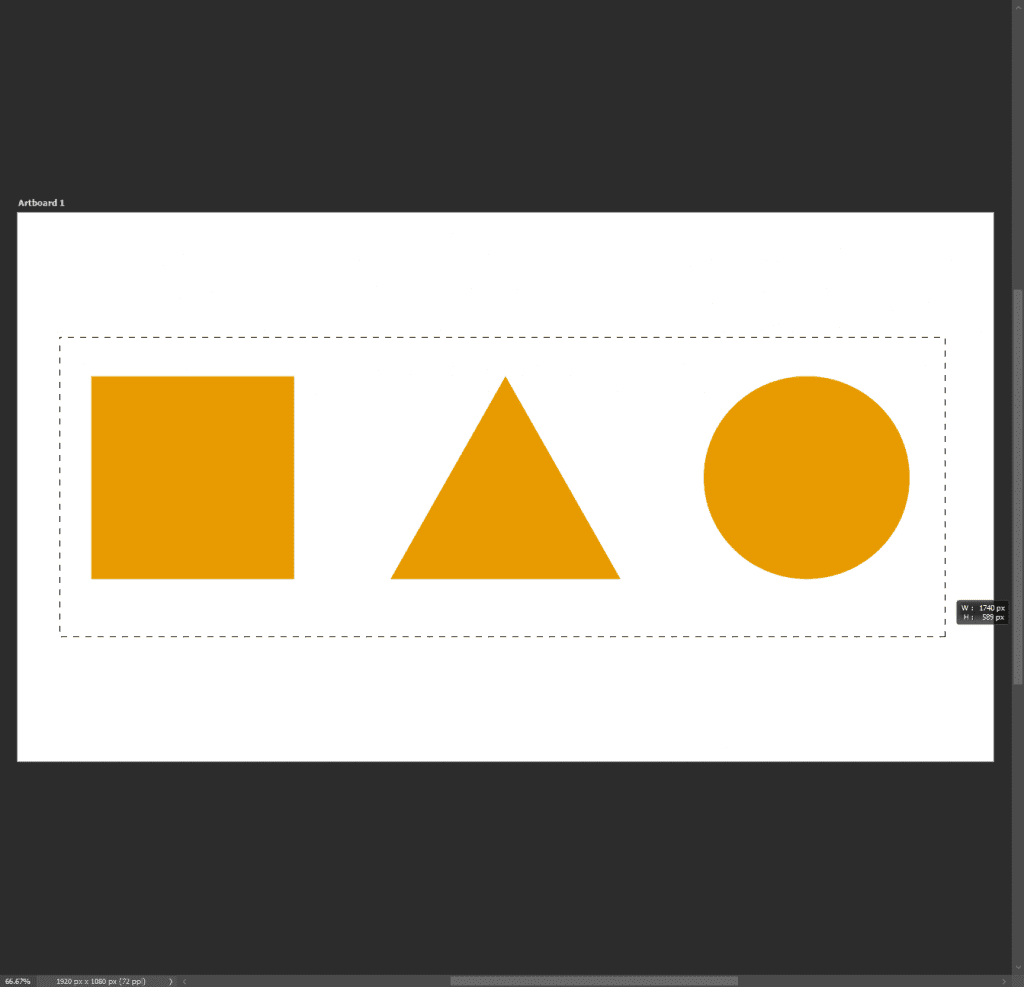
NOTE – If your subject is on a solid background color, and you don’t get the exact selection when you try to pick multiple objects, try to click on the Select Subject to get a better fit.
After you have selected your object, press Command or Control + J to duplicate it to a new layer (in this example, I built the shapes on different layers).
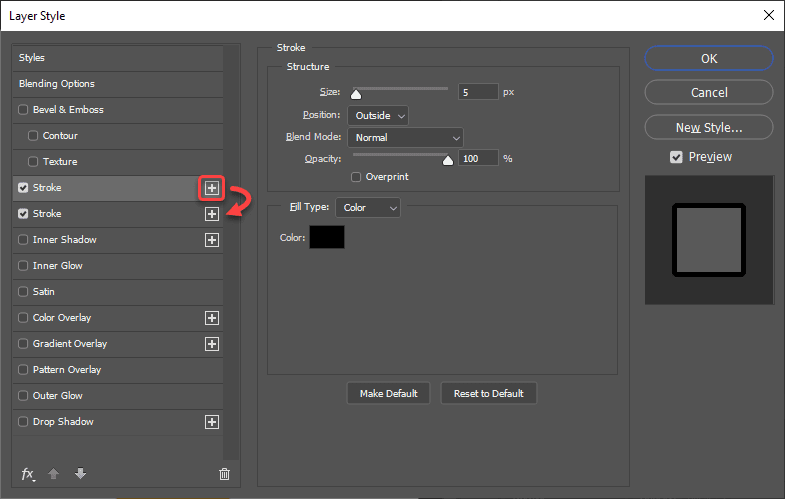
Open the Layer Style window, by double click on the new layer, or use the Add a layer style button, and select the Blending Options to open the Layer Style window.
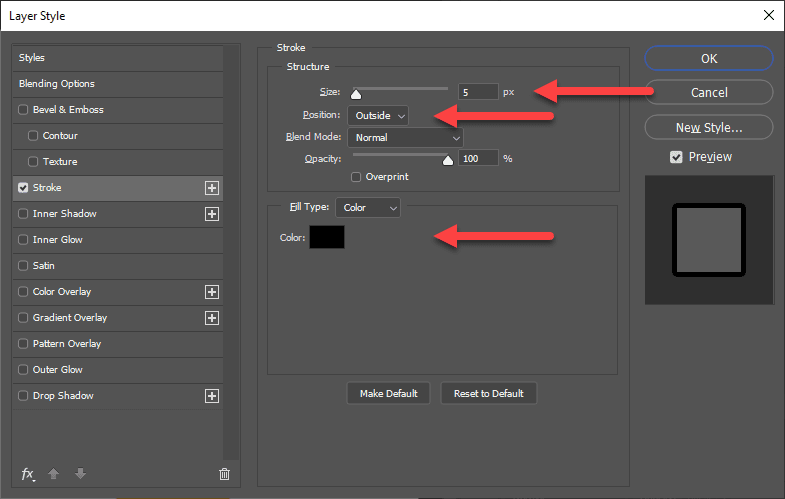
Select Stroke, and this time, set the Position to be as your liking: Inside, Center, or Outside.
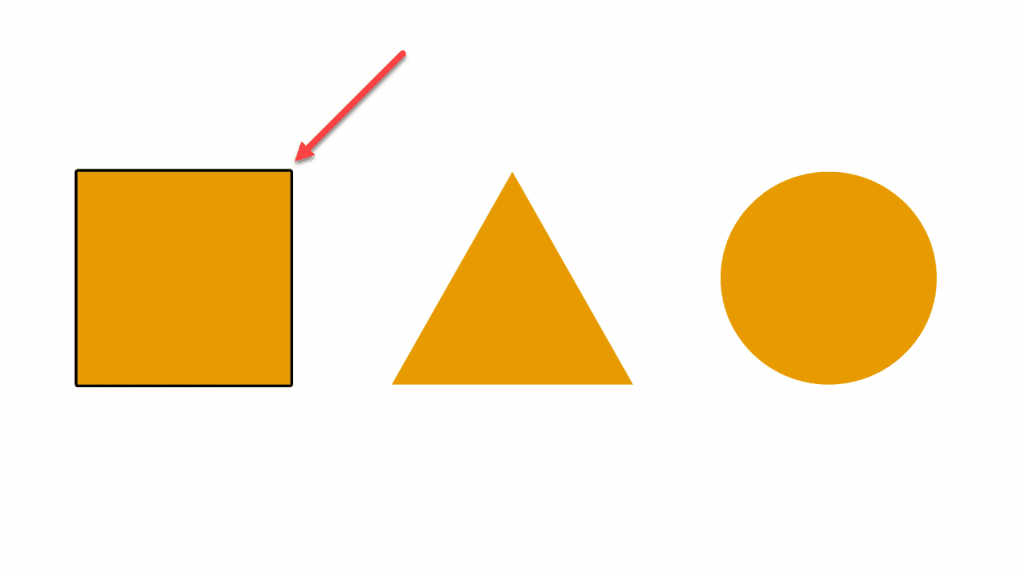
Set the size (width) of the outline, set the Fill Type to color, and choose the color you want your outline to be.
That’s it!
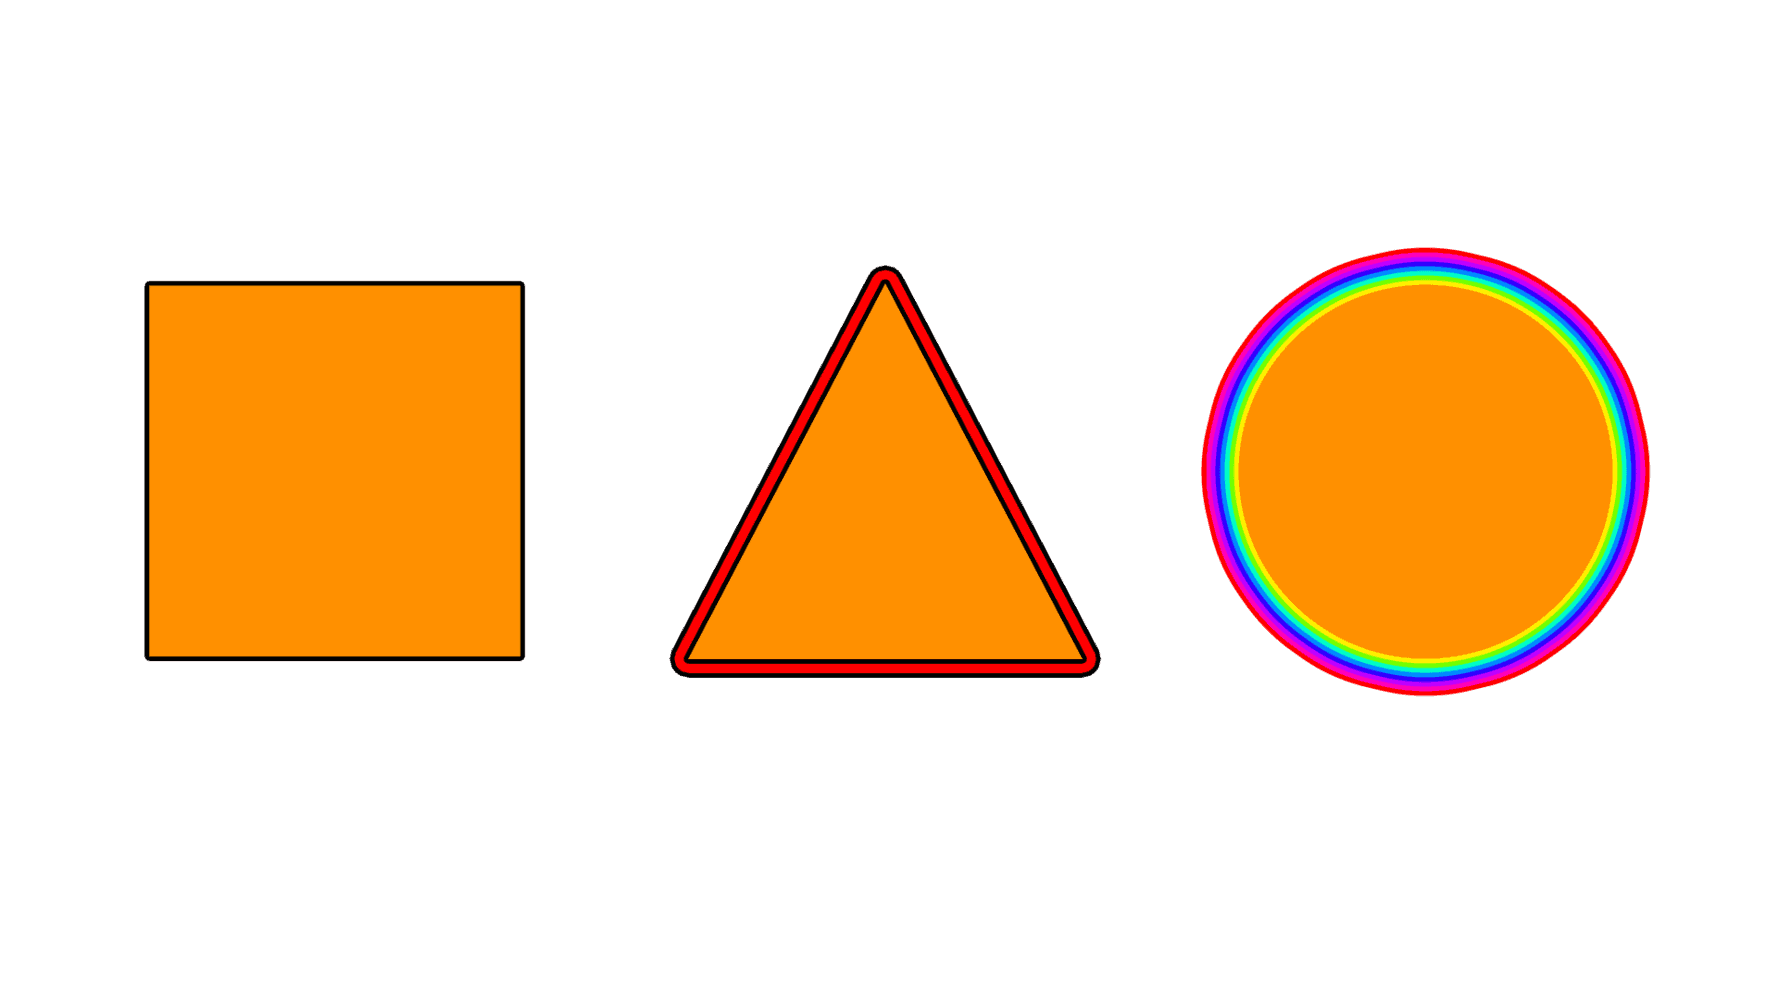
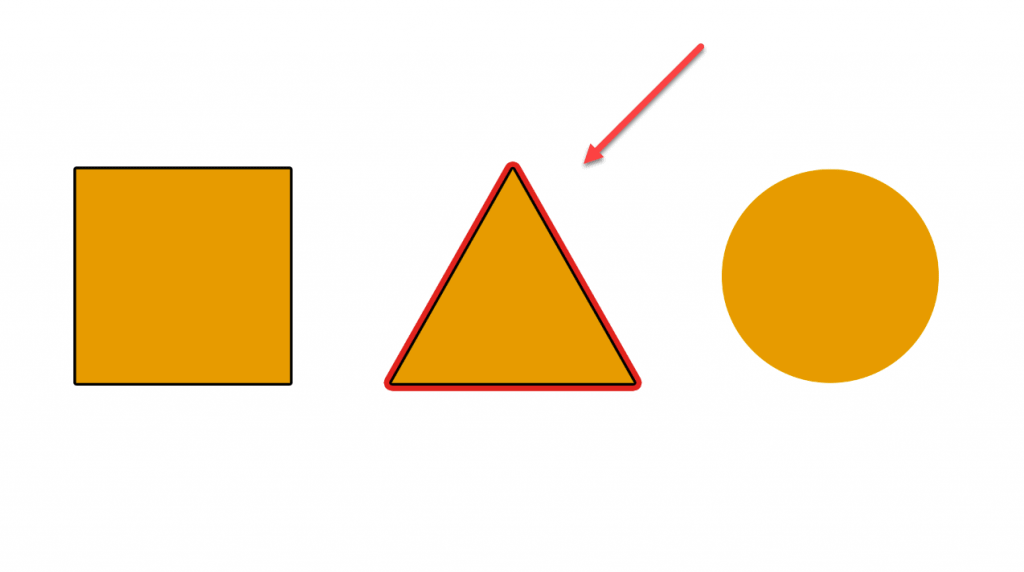
Add Multiple Outlines to An Image In Photoshop
You can be a bit more creative, and add multiple outlines to your image. You can do it around the border of the image, around the subject you choose, and you can even do it for both of them together.
It’s pretty simple, after you finish adding your outline, you just add another Stroke by clicking on the plus sign on the right.
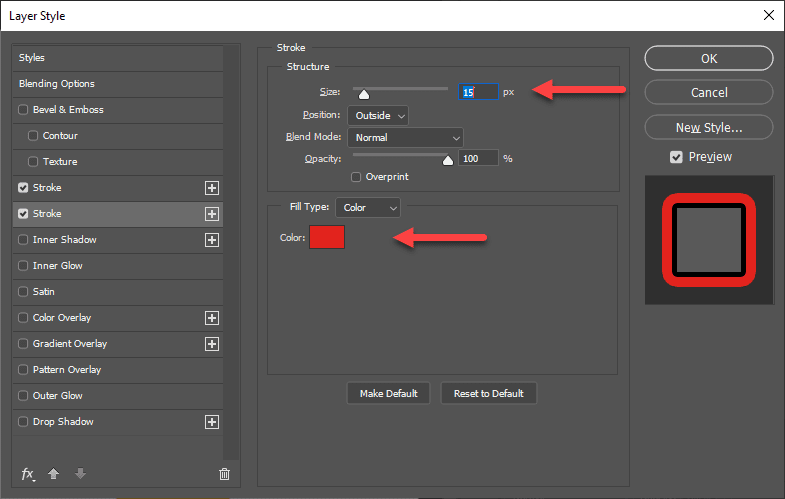
You will get a duplicate Stroke with the same settings as the one you just finished designing. Now you can choose a different color. Keep in mind, that you will not see the new Stroke at first, as the first one will cover it.
Increase the Size (width) of the outline, that will reveal the new color.
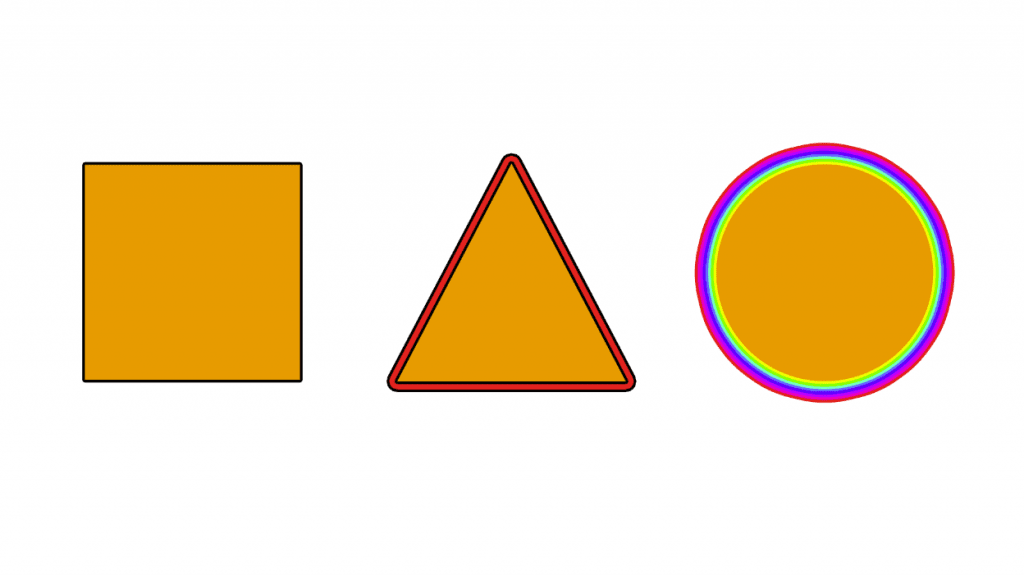
Note: you can add as many outlines as you want, just repeat these steps.
How to Outline Text in Photoshop
By now we saw that we can add an outline to everything if we can define its edges. And the same goes if you want to outline text or a specific font in Photoshop, you can even outline your signature in Photoshop.
The steps are similar to the previous methods we showed:
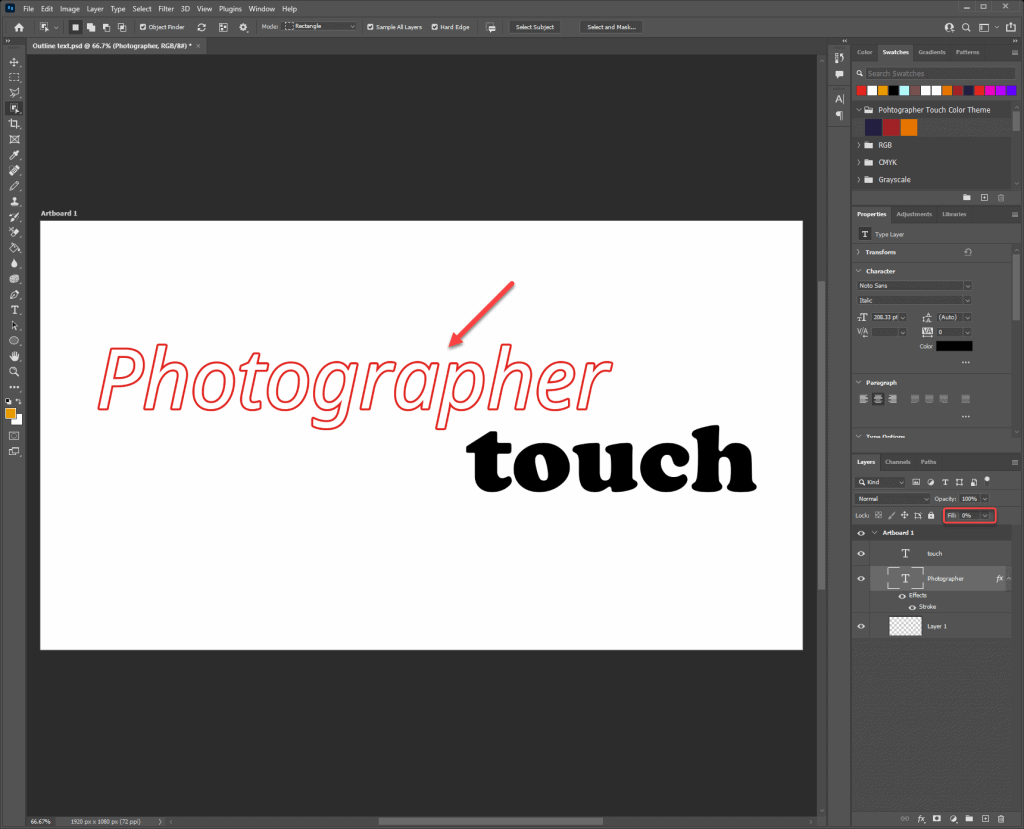
Add a new layer to your original layer, to work on your text. If you want to remove the inside of the text and leave only the outline, make sure to add a solid color to your background layer.
Write your text on the new layer.
Double click on the text layer to open the Layer Style Panel. You can open it by right click on the Add a layer style (fx) button and choosing Blending Options to open the Layer Style Panel.
Check the Stroke option
Set the size or width of your outline.
Choose the Position of your stroke to be as your liking: Inside, Center, or Outside.
Set your Fill Type of your stroke to be as your liking: solid, gradients, or a pattern.
Choose the stroke color you want, and hit OK.

If you want to hide the interior of your text and leave only the outline, you just lower the Fill (under the Opacity) on the Layers panel (and you will be able to see the solid background color that you set at the beginning).