Many people ask:
How do I create a lightroom preset?
How do I save Lightroom Classic CC presets?
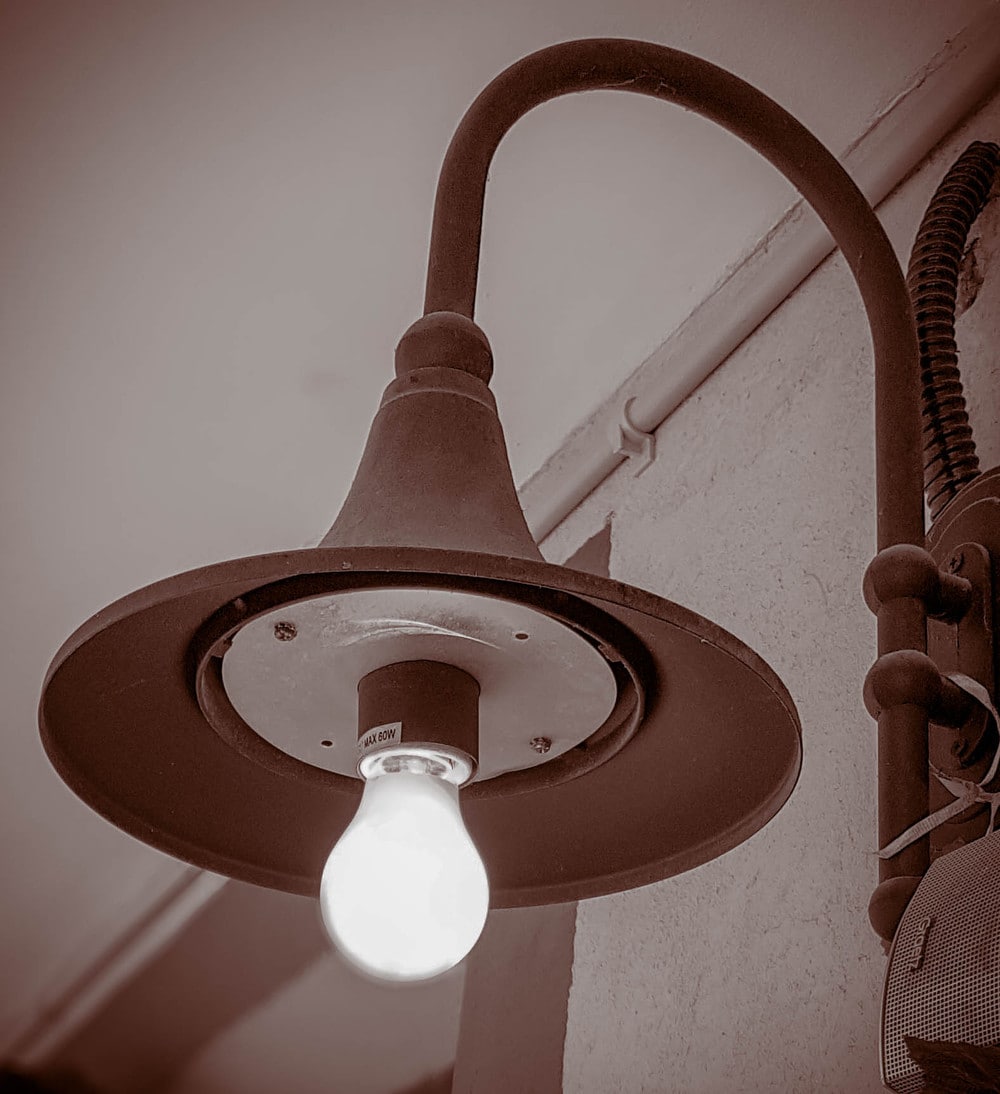
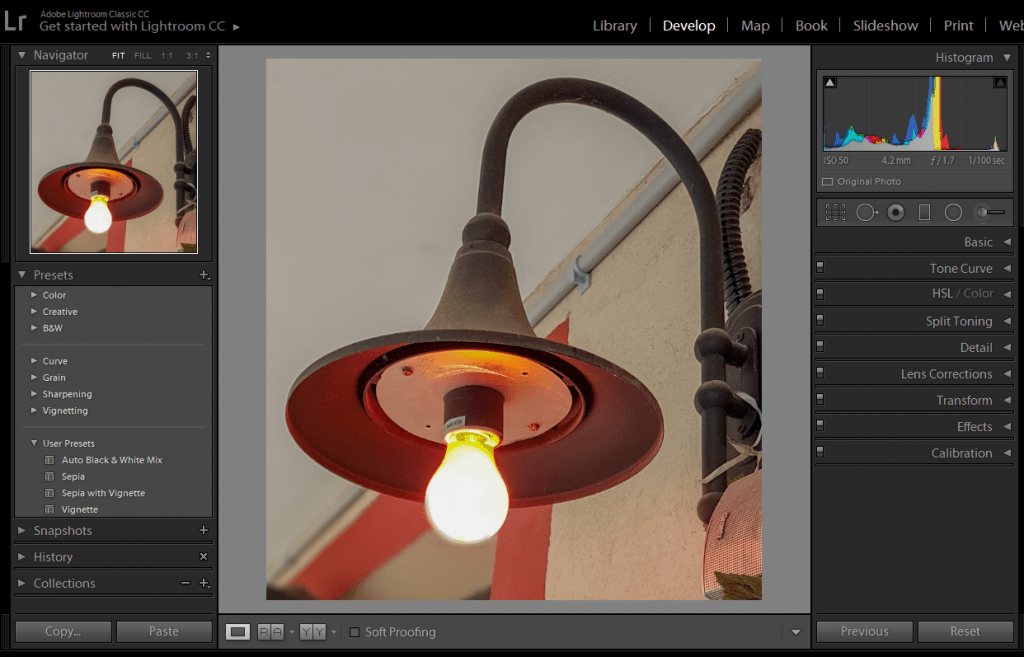
A Lightroom preset is basically a “package” of settings that can speed up the photo-editing process, you can save a lot of time if you will create yourself a preset of your most common adjustment when editing a photo. In this tutorial, I’m going to show you how to create your own preset so that you will be able to apply the same effect to multiple images. So let’s start here with this image.
A Couple of Approaches To Take
There’s basically two different ways that you might want to think about creating your presets.
Presets basically, save a solution, action of sliders, and you can determine how many sliders you want to save in a single preset.
Let’s take for example a preset creation of Black & white, combine with Sepia and Vignette.
Some people will prefer to only save the Black & White, or the Split Toning or the Vignette, and they prefer to save them out as individual presets, that way they can be applied to different images.
But,
Other people prefer to save all of those settings as one single preset that they know they will want to use. All of those three sets of sliders in combination together the same way every time.
How to Do It
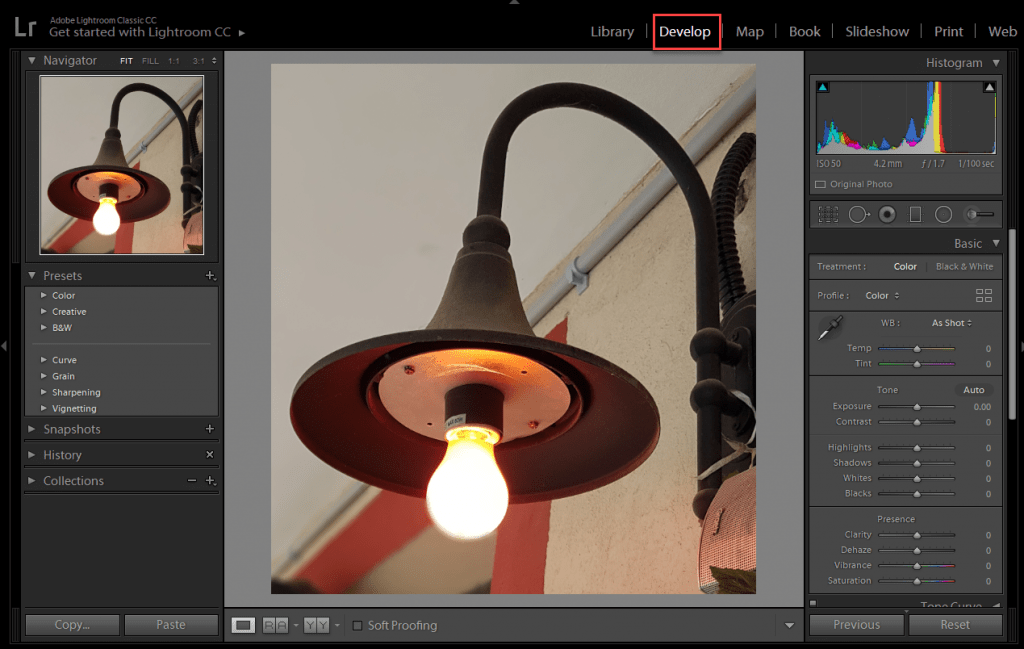
So, we have this image here and I want to convert it to gray scale.
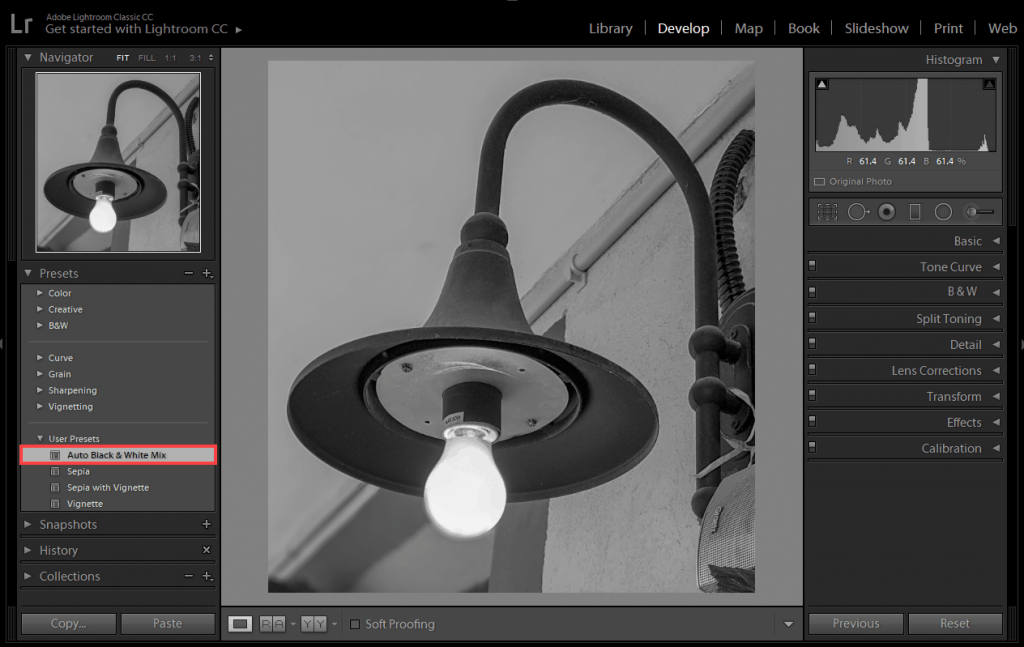
Click on black and white, and that will automatically create an auto conversion based on the values of the image.
Adjust the Tone Box the way you prefer, or you can just tick the auto on the top right, to have Lightroom automatically set the Exposure, Contrast, Highlights, Shadows, Whites and Blacks sliders.
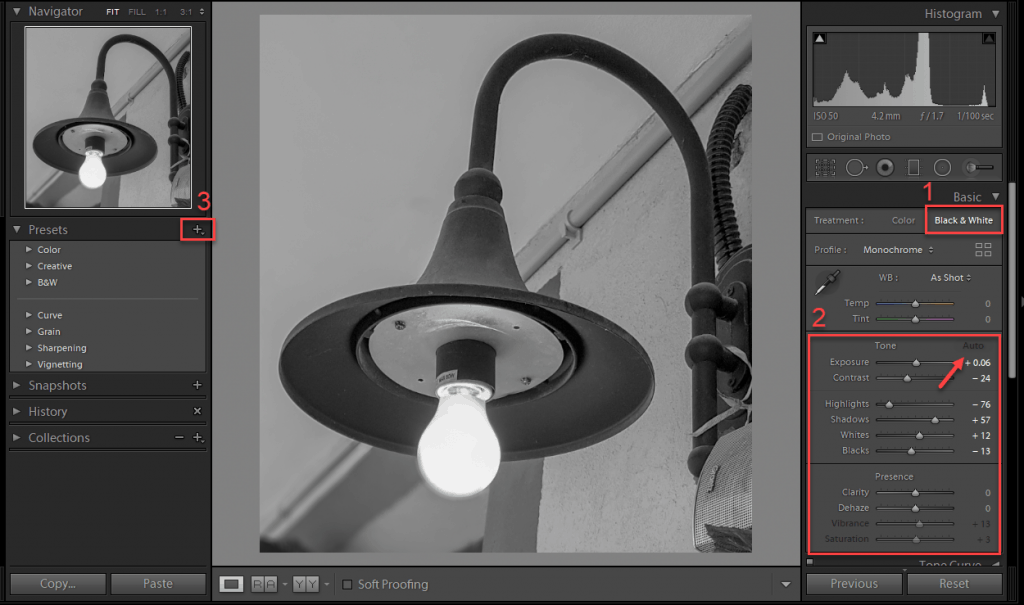
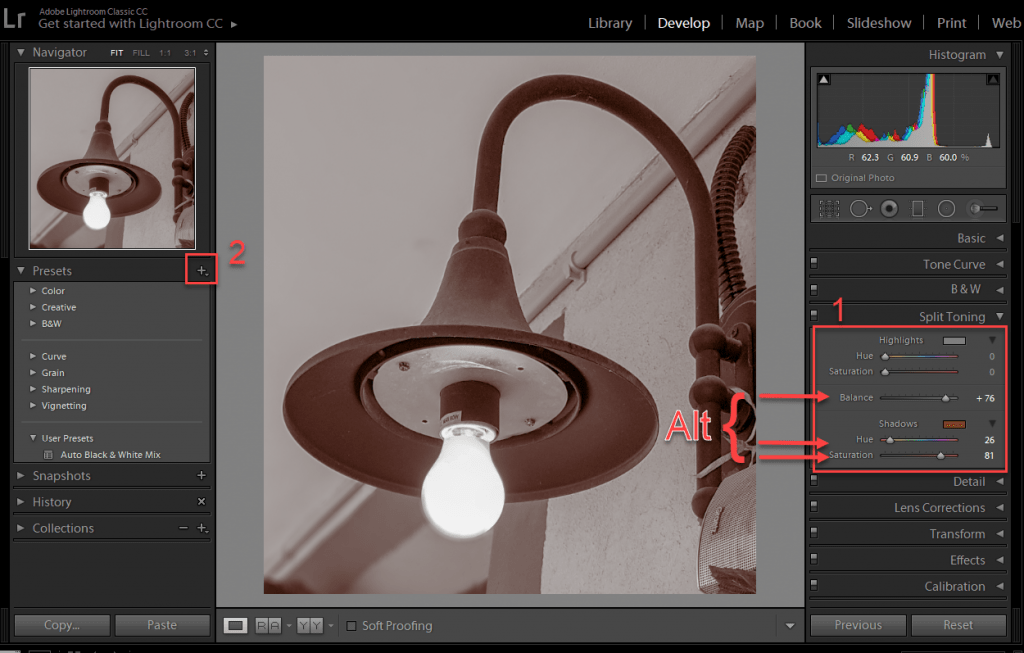
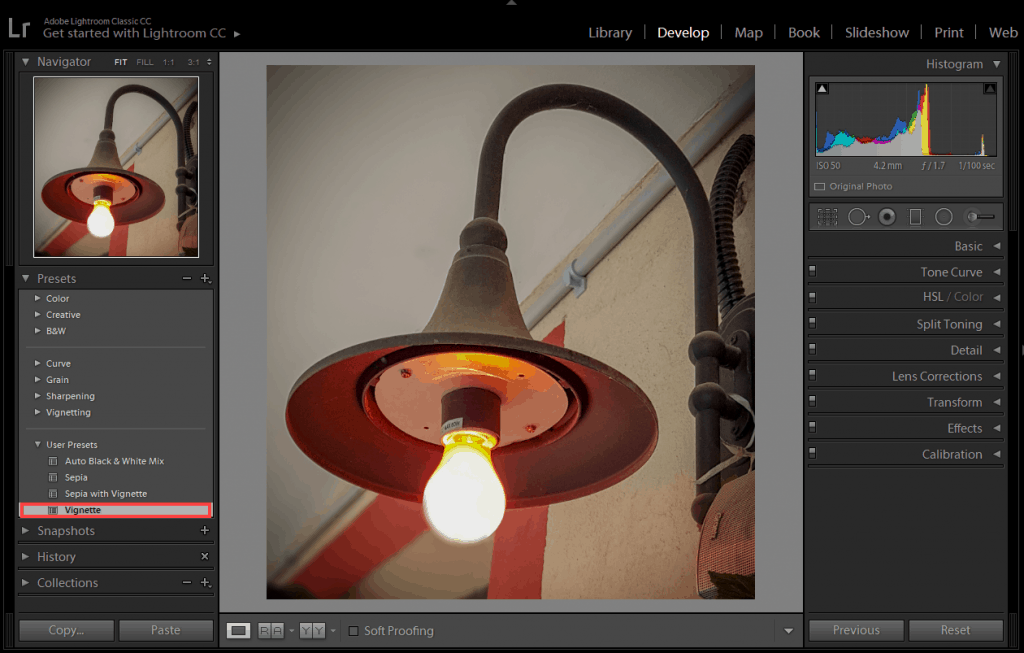
Now, to save this as its own preset, you go ahead and click the plus icon next to Presets on the left navigator panel.
Make sure you uncheck everything and then just toggle on the Auto Black and White Mix.
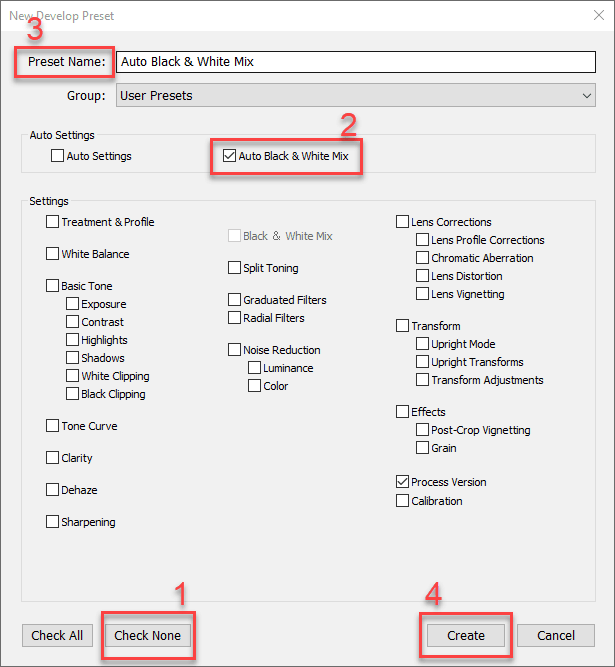
Give it a Name (a contextual name) like, auto black and white, and then click create. You can see that it added it to the User preset folder right here.
Now you can apply the auto black and white with a single click to a different image, just move to that image and apply it.
But, lets create a few other presets first.
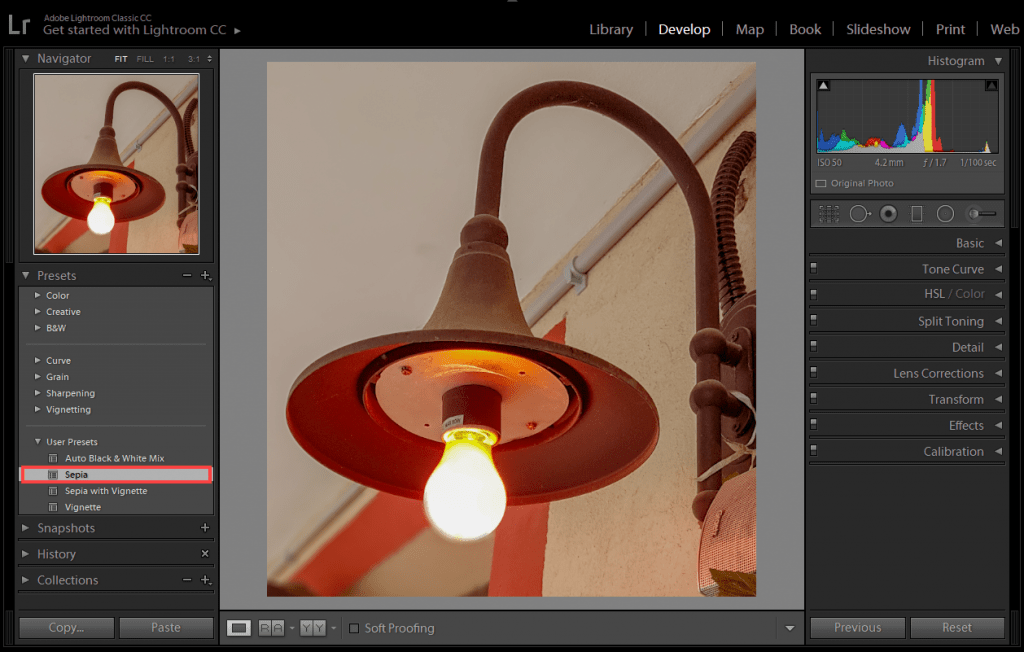
Scroll down to Split Toning, on the right navigation panel, here you can add a Sepia Tone (to “warm” up the tones of a B&W photo), you need to hold down the Alt/Option key and drag the hue slider over until I find the color of sepia that I want. Then you can increase the saturation and then increase the balance so that it restricts that sepia tone in a way it’s only affecting the shadow areas of your image.
Now, you can save that as a separate preset, as before. Click the plus icon (Create preset), check none, and then just turn on the Split Toning and give it a contextual name (you can call it Sepia).
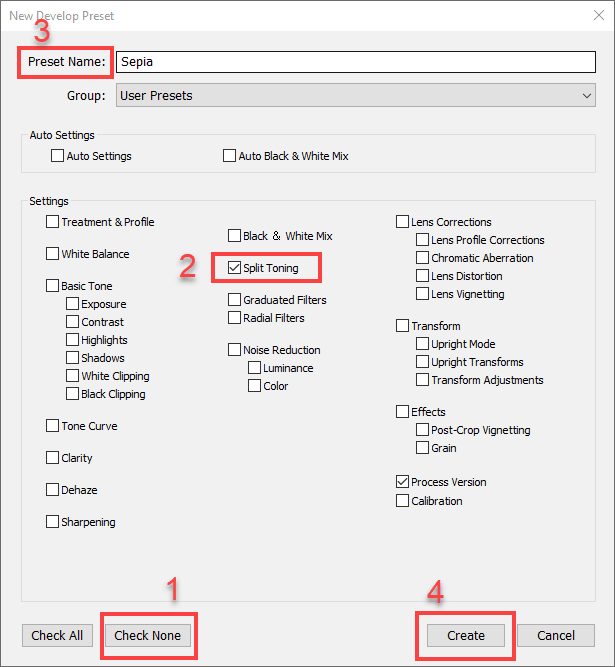
After you click the create button, you will see that it’s been added to the User Presets list.
Now just add one more thing.
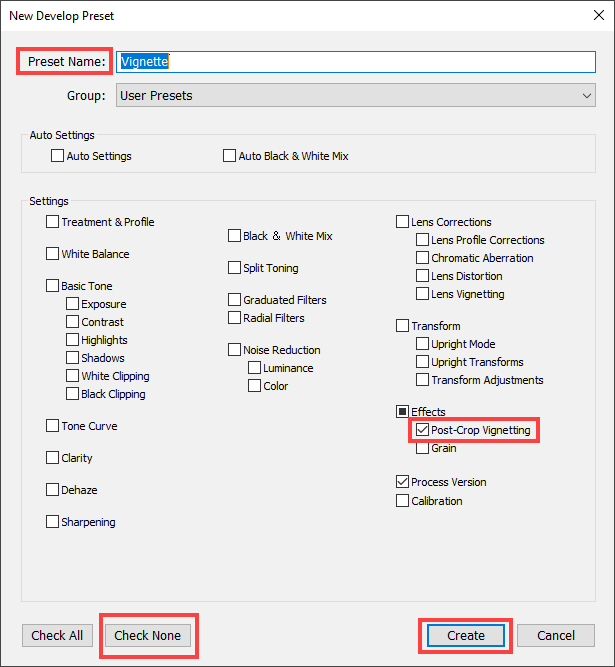
Go to effects and just add a simple Post-Crop Vignetting, make it a little bit darker (Amount), increase the Feather, and then saving it as a vignette.

Again, Check None and then enable the Post-Crop Vignetting (under Effects), and click create.
Now you can see that you have all three of these separate Presets. But if you know that you’re always going to want this combination, then you might want to create a preset that contains all of those sliders.
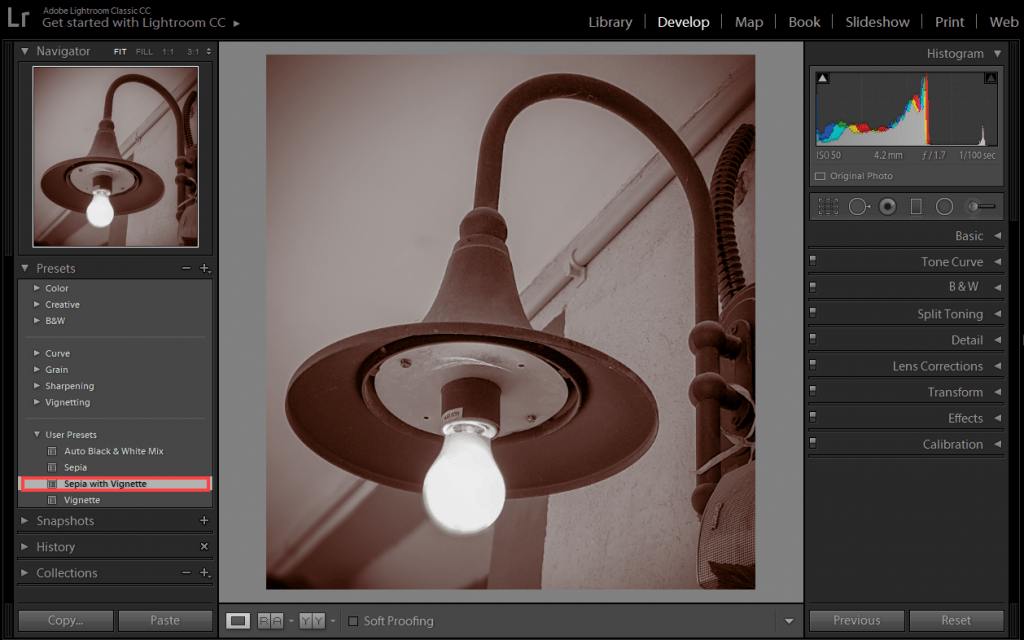
You can make it your Sepia with Vignette Preset, just make sure that not only does it have the Post-Crop Vignetting, but, it also has the Split Toning as well as the Black & White Mix.
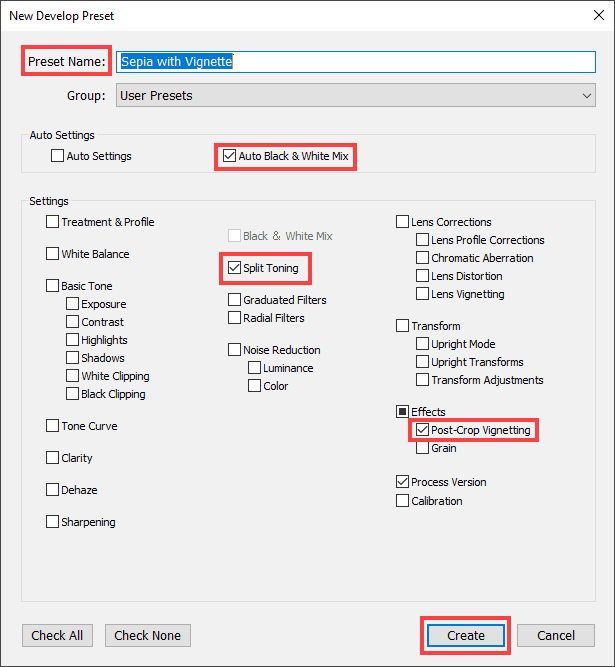
Now, when you choose create, all of those sliders will be effected if you apply this preset to another image.
Final Summary
After we created the final slide, let’s reset, and go through the presets.
Here is the Auto Black and White Preset that only converts it to gray scale.
What if we just added the sepia tone without the black and white? Well, you can see that now it’s just adding a color cast.
Let’s add just the vignette to this image.
So, I think you can see how just saving one set of sliders gives you a little bit more flexibility because you might just want to apply a vignette to one image or a sepia tone to another. But again, if you know that you’re going to apply a certain combination, then go ahead and save them all together.
And when you click Sepia with Vignette, it would apply all three of those changes at once.
Let me know if this guide was helpful for you on our FB page. And, don’t forget to share this article if you know other people will enjoy it too.

