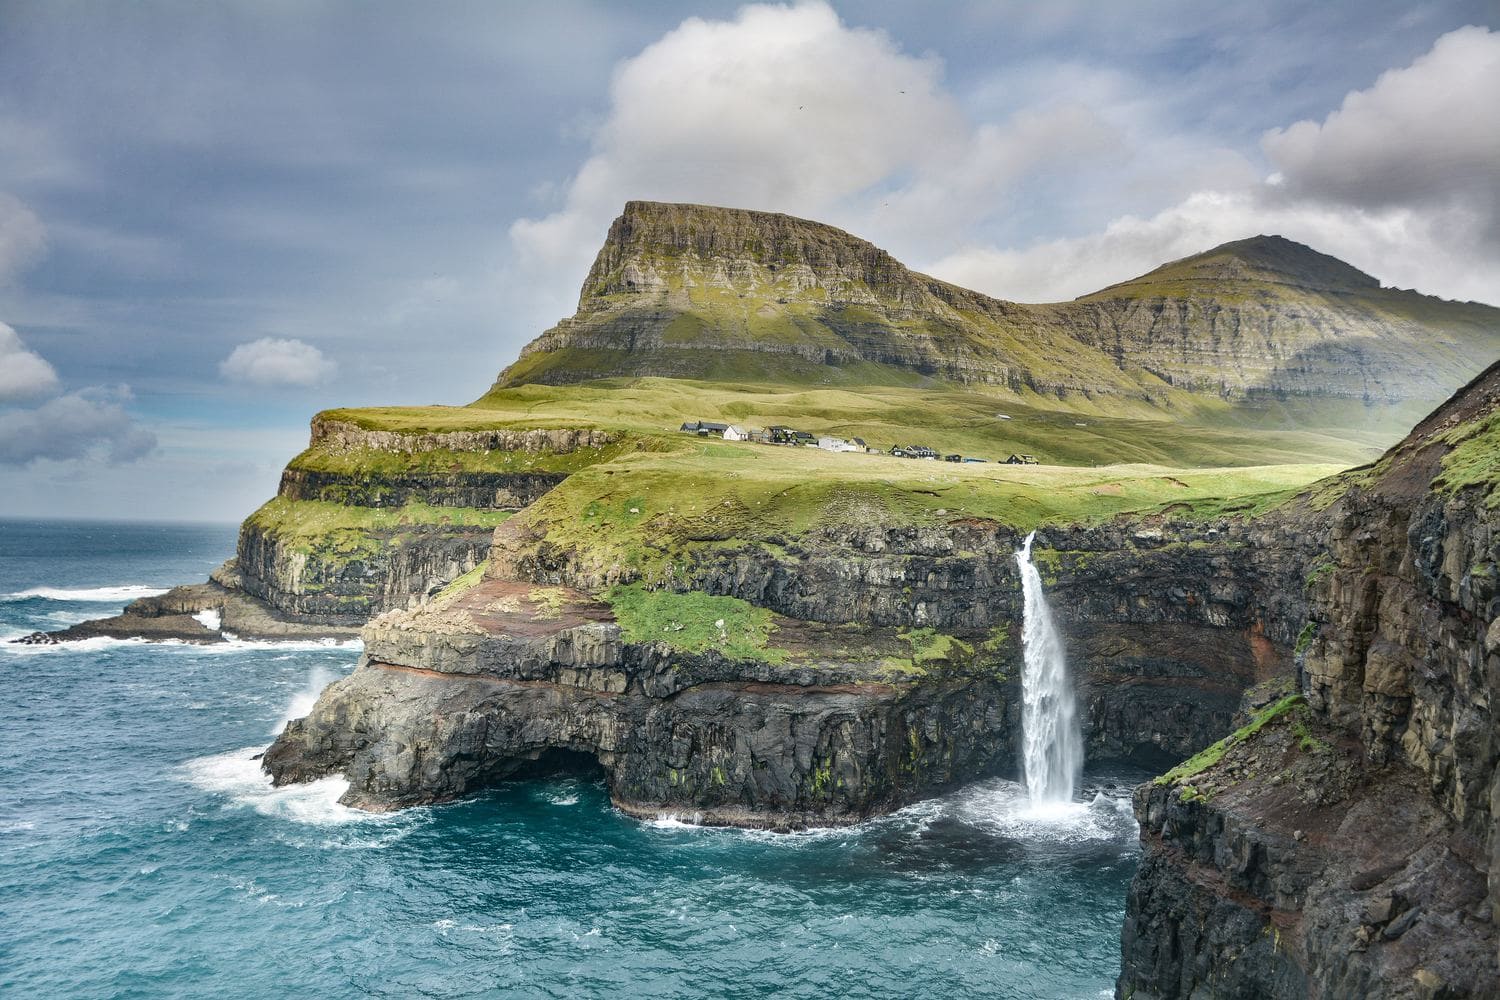
Are you traveling to amazing locations and coming back with less than amazing images? You know you have seen some truly impressive and dramatic images of exactly where you were. Yet, yours don’t look anything like that.
You might think that you were just unlucky. Unfortunately, there was no perfect sunset that evening.
A lot more goes into creating high quality landscape images than lucky timing. There are some very clear things you can do to get the most out of the scene you have in front of you.
Here we give you a thorough guide to begin improving your landscape photography.
Use a decent camera
It is true that even with the most basic set up you can get a great shot. However for landscape photography the best images won’t come out of your smart phone camera or a compact digital.
Thinking first about your camera gear means all the other effort you put in will be worth it. It makes the task easier. And, at the end of the day you come home with higher quality files.
Digital SLR or mirrorless
Shooting on a digital SLR or a mirrorless camera will immediately bring your image making capabilities to a higher level.
The primary advantage is to gain manual control of all the variables which go into making a photo. We give you guidance on some settings below.
Full frame sensor
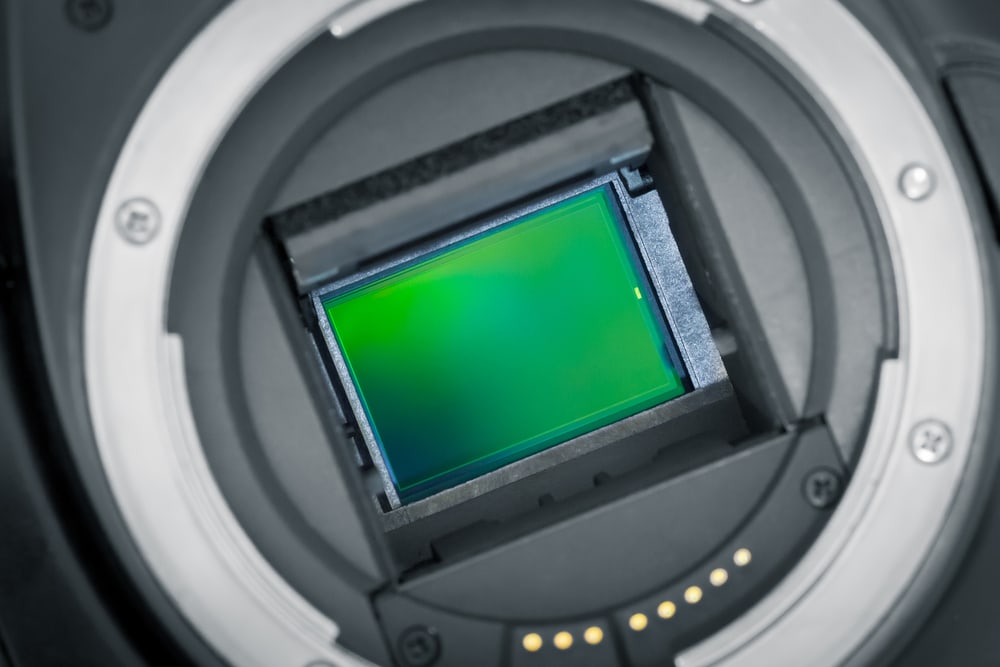
If you can, try to use a full frame camera. In the world of digital cameras the term full frame refers to a camera which has a sensor that is the same size as traditional 35mm film.
In short, the more pixels that are captured and the larger they are, the better the detail. Your images will have better clarity and definition with the full frame sensor than a smaller crop frame sensor.
Full frame cameras are also typically better performers in low light. There are some other differences as well, so do some research and see what suits your style and budget.
In any case, aim for at least a 20 megapixel sensor.
A few other things to consider
If you are buying a new camera also look for good battery life, check that it is weather sealed, and consider how heavy it is.
Quality lenses are worth the investment
The lens you shoot with is a very significant factor in determining the quality of your final image. It will also determine the look of your image.
Investing in a high quality lens will usually give you a greater improvement than a new body. That is unless your digital camera body is quite outdated, and desperately needs an upgrade.
Which focal length do I need?
For landscape photography, make sure you have a wide angle lens. It will take in a broad panorama and also add emphasis to the foreground of an image.
Around 24mm or 28mm is a great focal length to select. It has brilliant wide coverage and gives a nice sweeping landscape look.
Focal lengths from 35mm to 50mm produce a fairly natural looking scene. This is around the normal focal length of human vision.
Longer focal lengths allow you to zoom in to particular details of a landscape scene. They have less distortion and compress the distance between closer and further away objects.
Prime lenses versus zoom lenses
As a general rule prime lenses—those with a single fixed focal length—perform better than zoom lenses.
These lenses are generally sharper across the whole frame, and have less distortion. They are made to be good at one job.
You can find very well priced 35mm or 50mm prime lenses which are great for beginning with landscape photography.
In contrast, a zoom lens is trying to doing many jobs at once. They are more complex and made from more glass elements. This leads to some compromises. They might not be as sharp and will typically have a sweet spot in the middle of the range where the image quality is best.
Zoom lenses are attractive because they are flexible. Stick with shorter zoom ranges, rather than ultra zooms. Consider a 16-35mm or 24-70mm, and an 80-200mm rather than say a 28-300mm.
You should note that different camera sensor sizes change how a specific focal length will look. The focal lengths mentioned here are for full frame cameras. For cropped sensors the image will look more zoomed in. Adjust the suggested focal lengths to the equivalent for your camera body to get the right one.
Get a tripod
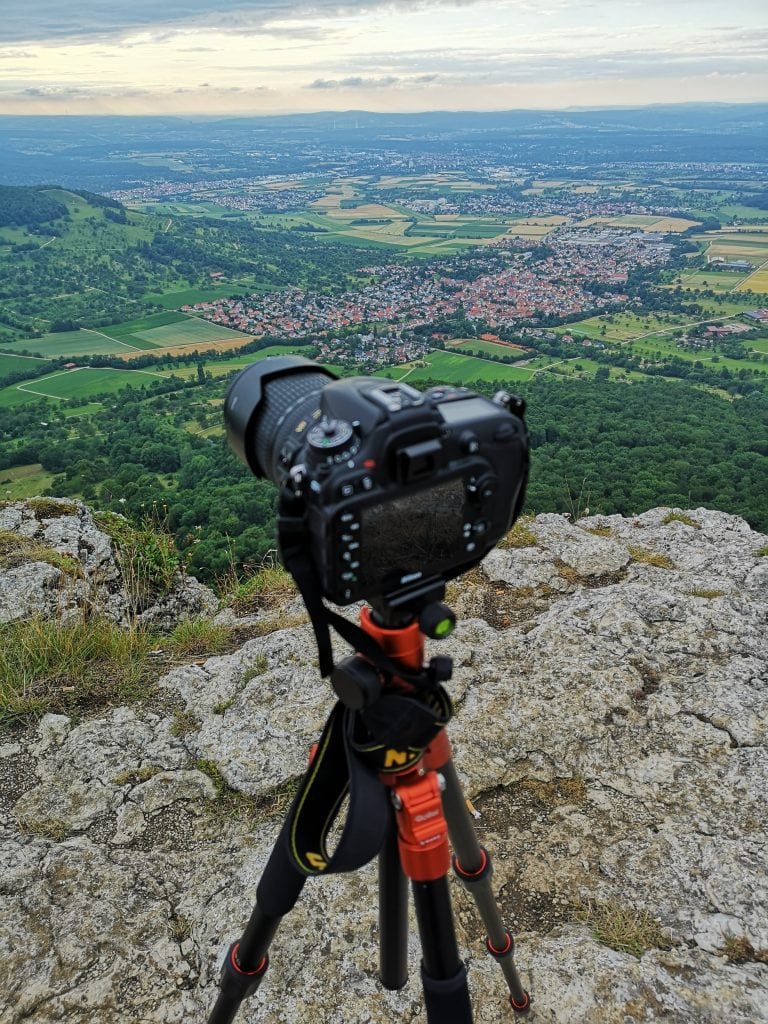
A tripod is absolutely mandatory for good landscape photography. Yes, it is a little more hassle to carry around. But it is absolutely worth it.
Using a tripod eliminates the camera shake of shooting hand held. It is easy to be fooled into thinking your images are sharp enough. On closer inspection you can be sorely disappointed.
Get a model that is sturdy enough to hold the body and lenses you have. Look for tripods which allow you to get low down to the ground, have spiked feet, are light weight and fold up compactly.
If you shoot at night, or in low light conditions you will be very thankful to have your tripod. At the same time pick up a cable release and you won’t get any shake from pressing the shutter either.
Understand your manual camera settings
When you first start out, getting your head around all the camera settings can feel incredibly daunting. Here we give you a quick run down on the basics you need to understand. And, why you would pick certain settings over others for landscapes.
At the heart of it, what you want to achieve is a properly exposed image.
There are three main elements which you need to keep in balance to make that happen. They are the ISO, the aperture and the shutter speed. Changing any of these also has other effects on the image.
ISO
ISO is a measure of how light sensitive the camera sensor is. The lower the number, the less sensitive. But, also the less pixel noise you will get.
Keep your camera set to an ISO of 100 whenever you can. On many current digital cameras shooting at an ISO of 400 or 800 will still be acceptable, but it depends on the camera model.
Aperture
The aperture is a measure of how wide a hole there is to let the light in. A wider hole, but smaller number, means more light reaches the sensor. It also means a smaller depth of field. That is the area of the image which is in sharp focus.
For landscapes, you generally want to keep everything as sharp as possible. This means selecting a bigger number to give you a smaller aperture. Around f/16 is where you want to aim at.
Aperture was so important for famous landscape photographer Ansel Adams that he called the group he founded Group f/64. It was renowned for its very sharp aesthetic style. They were shooting on large format cameras, so you won’t find a lens for an SLR with that aperture. But, perhaps keep this in mind when you are struggling to remember which direction to turn the aperture ring to get everything sharper.
Shutter speed
The shutter speed controls how long the light is exposed to the camera sensor.
In many cases the shutter speed you select will be whatever you need to obtain correct exposure after you have set the ISO and aperture. For hand held shooting you should keep it no less than the number of your focal length (1/120 for 120mm lens), or 1/60 as the rough guide.
Generally shutter speed is not going to have a critical impact on the look of your landscapes.
Waterfalls and beach scenes are the main exceptions that come to mind. Use a fast shutter speed like 1/1000 or less to stop fast water motion. For a soft blurred look, try exposing for 1 second up to several seconds.
Putting it all together
There is no way to give you the exact settings you need at a specific time and location.
First understand the basic principals at play. Next get familiar with your camera and know how to find the right buttons or dials. Then know how to interpret the information on your camera to select the correct combination of settings for the right exposure and look.
Do the preparation
With all that technical information swimming around your head, we know you are keen to just get out the door and shoot now. But, slow down. You are not quite there yet.
One major difference between getting average landscape images and outstanding images is the time and effort spent preparing.
Do some research about the area where you plan to shoot. Take a look at some other photographer’s images and make notes of specific views or locations that you shouldn’t miss. It is good to know if the 2 hour extra hike to the next lookout is worth the effort or not.
Get your timing right
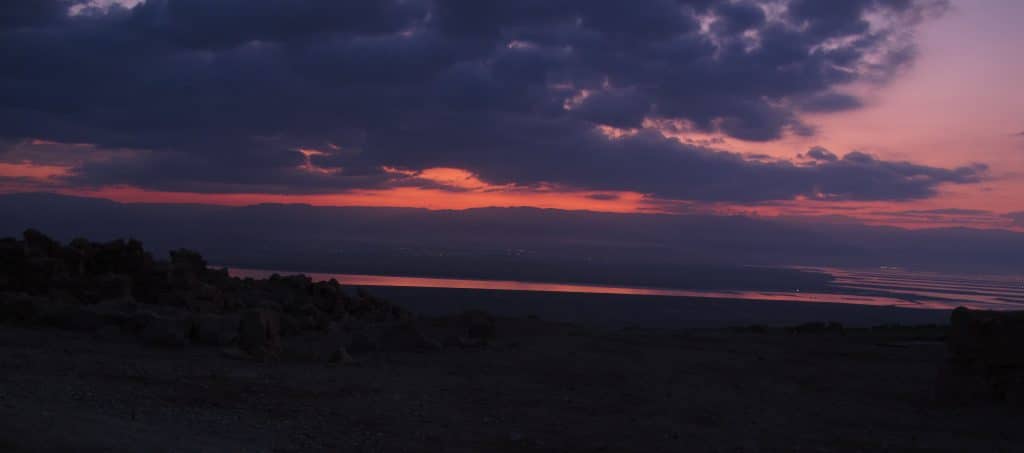
The truth is that getting up at the crack of dawn, or earlier is probably exactly what you will need to do. Or, plan to stay well past the normal tourist crowds into dusk.
The softer light coming from a low angle gives a more pleasing image than harsh midday sun.
Getting to your location at the ideal time can take some effort. Double check whether the specific National Park is even accessible at the ideal time. And, plan to be in an area long enough that you get a chance to be at several different locations in the area all at ideal times.
Learn about composition
A strong, clean composition goes a long way to creating a beautiful landscape image. The great thing about shooting landscapes is that you usually have the time to get this aspect just right.
Think about your foreground
It is easy to focus on the horizon and the overall scene you are capturing and overlook the foreground detail.
When you are shooting with a wide angle lens, the foreground could actually take up most of your frame.
Walk around, look for an interesting bush, a few rocks or a patch of flowers. You want to have something to balance the rest of the image and create some interest.
Shooting from a low angle can help create drama and lead the eye into the image.
The rule of thirds
This is a classic guide and a good starting point to think more actively about composition.
Imagine your image divided into three in each direction. You will have two horizontal and two vertical lines giving you a grid of nine sections.
Now aim to put your main subject and areas of interest where those lines intersect. For landscapes one clear way to use this is to place the horizon line either one third up or one third down in the frame.
Lose the distractions and keep it simple
Composition is as much about what you leave out as what you put in the frame. Skip the clutter and try to think about having a single clear subject in your images.
Make that one feature the hero of your shot and everything else its support.
Scan around the edges of your frame. Check for anything too bright or which sticks out and is distracting.
Get your focus right
Ideally you want to focus on a position about one third into your scene. Everything which falls behind that point should be in focus. And, if you have set an ideal aperture everything in front too.
You might need to watch out if you have any key details extremely close to the camera though. They may not be in focus at the same time as the background. Use of more advanced techniques which involve taking multiple images and combining them will be necessary.
Don’t neglect post processing
We promise that all of those stunning landscape images you drool over did not just happen in camera. There was also some editing involved.
This is where you get to make fine adjustments to the color and create the overall feel of your images. With some crafty editing work you can take an image to a new level.
Emphasize specific details and control contrast. Bring out highlights and deepen the shadows. All these can add drama to an image.
In Conclusion
We hope this has introduced you to some practical ways to improve your landscape imagery. Yes, it is possibly quite a steep learning curve to start.
However, with some repetition, it will become second nature soon enough. Just get out into the environment, experiment and start creating.
Tell us if you learned something new and which points you found most helpful. And, don’t forget to share this article if you know other people will enjoy it too.
For more tips, you can also check out landscape photography tips by Pixpa that helps you to become a better landscape photographer.

