Have you got a taste for mountain biking? Keen to capture its energy and grit in some rad imagery?
Just like the sport itself, photographing mountain biking is no small undertaking. Expect it to stretch your skills and photography knowledge.
Ideally, you already have an understanding of the basics of good photography technique and composition before you commence.
Here we give you some direction for when you start to point your camera at mountain bikes.
Camera gear
Your first question might be: what camera gear do I need?
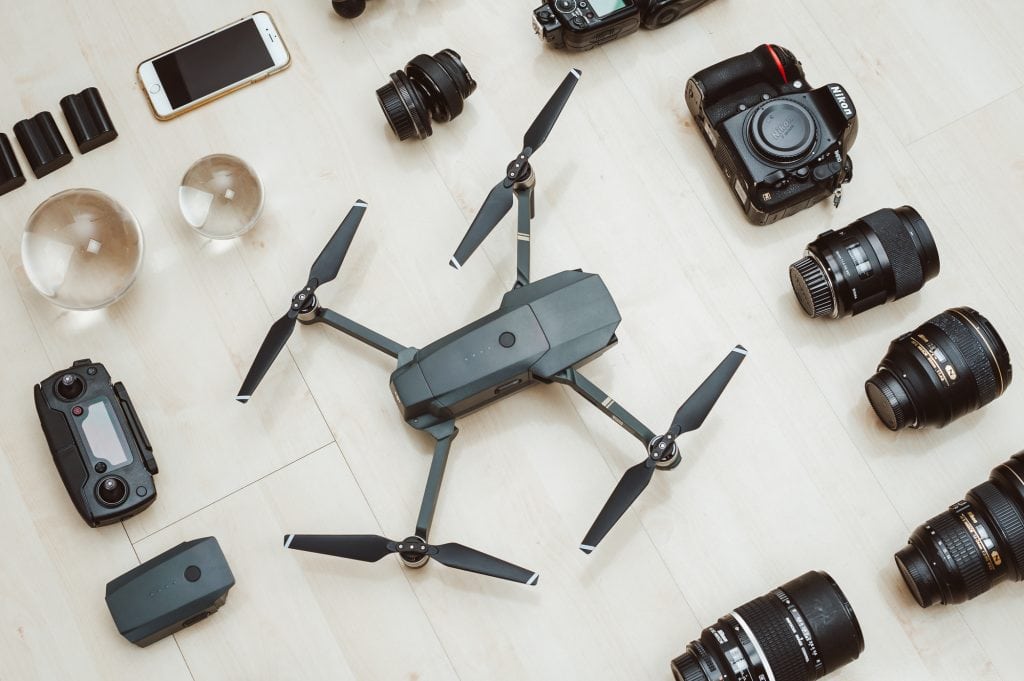
The truth is that you don’t need the best gear out there to shoot great mountain biking images. Any DSLR or decent mirrorless which allows you manual control and swap lenses will be okay to get you started. If you are going to spend money, invest in good fast lenses with large apertures.
You can upgrade your gear in steps as you improve and work out how you like to shoot.
The key is to know your gear inside out. That way you can concentrate on the subject and the shots in front of you.
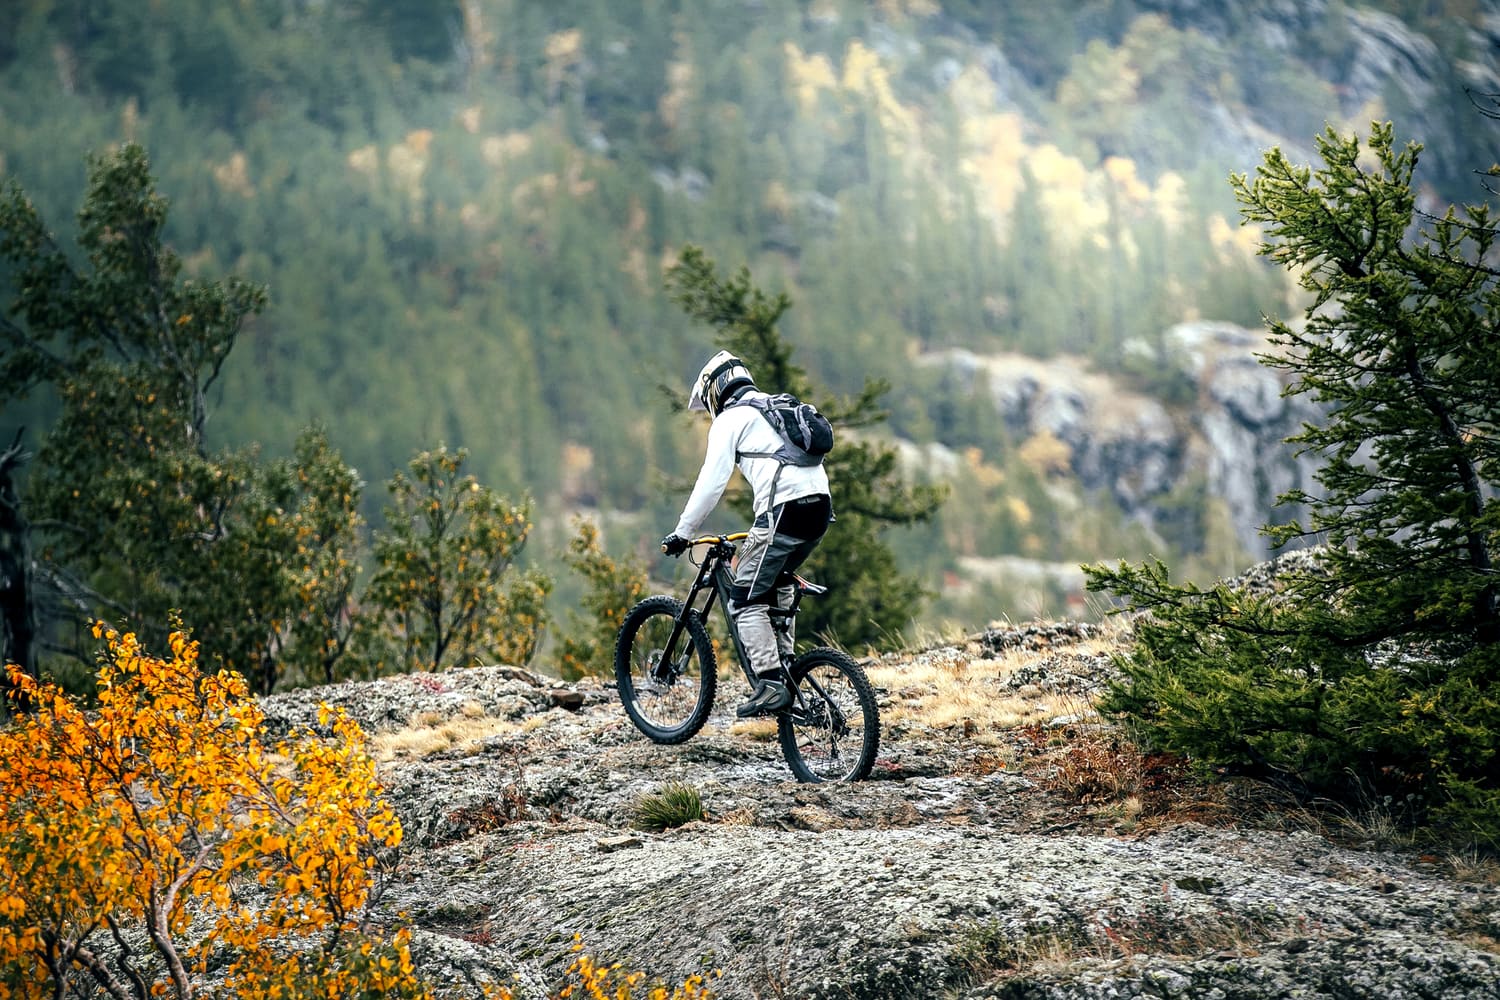
The shoot setting
There are two basic scenarios that apply to shooting mountain biking. You plan a shoot specifically to capture great shots of your friends, a particular rider, or a team. Alternatively, you take photographs to document a pre-organized riding event or race.
When you are on a mission to get great shots, you have more flexibility and control. Put some thought into picking a good location. Ideal locations will offer opportunities for a variety of shots. Beautiful scenery and some clear space which allow nice long shots plus good natural light are an excellent start.
Compared to the first scenario, shooting an event eliminates your choice of location. The challenge is to adapt and make the best of whatever setting you find yourself in. Different MTB disciplines will demand different approaches.
Styles of action shooting
Many tips for shooting any sport’s action also apply to mountain biking. There are a couple of different approaches you can take.
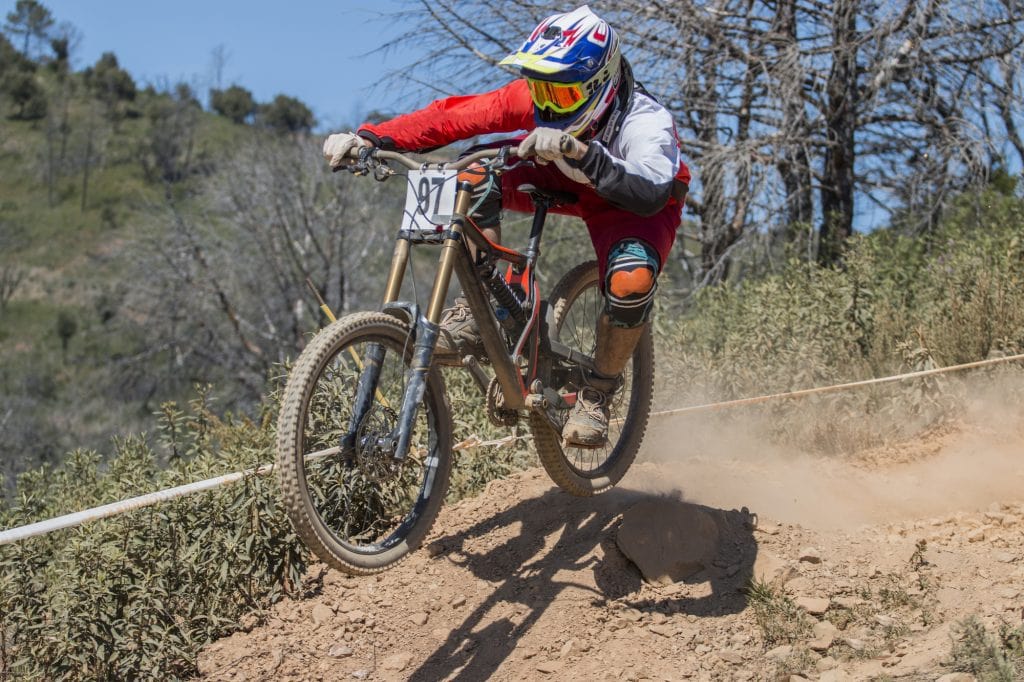
The first approach is to aim for clear images which stop the motion. Think dramatic images of riders frozen in the air, mid-jump.
To achieve this, select a fast shutter speed. Something around 1/1000th second would be the minimum. If you have enough light, you can also shoot at any speed faster than this.
Using the right shutter speed is the priority. Set that first and then adjust, or let the camera take care of, the other settings. However, it is all a balance. Don’t let the ISO get so high that noise becomes too much, and remember that wider apertures reduce your depth of field.
The alternative is to include a feeling of movement within your captures. Do this by selecting a slower shutter speed and turning your body to follow the rider with your camera. ¬
What you will create is a sharp subject and a background with motion blur. This works well when riders are traveling along flat sections of track. It introduces a dynamic to a shot which might otherwise feel rather static.
Panning your camera just right with the action is a skill. It takes practice. Don’t be discouraged if you get a lot of fuzzy images when you begin. You will also want to experiment a little to get the ideal shutter speed, which will vary depending on the speed of the rider.
Nailing your focus
For mountain bike shooting, it is often wise to pre-focus. This avoids the problem of delays in autofocusing and stops the camera from getting distracted by something else in the frame. Riders may be moving too fast to rely on autofocus—though, some cameras and lenses will perform significantly better than others.
Riders tend to travel pretty well-defined paths, so it is easy to predict where they will be. Set up your composition and get someone to stand in where you want the rider to be, then focus. Squeeze the shutter when the riders hit that spot.
Think about the light
Try to shoot in the early morning or late afternoon. If possible, avoid the middle of the day, when the sun is high in the sky. The warmer, low-angle light will produce more interesting imagery.
It is also more flattering. Many riders wear a helmet with a visor and overhead sunlight creates harsh, dark shadows across the face. Even with the softer morning and evening light, it is a good idea to adjust the rider’s visor upwards.
Encourage your riders to keep their head up a bit more than usual if you are directing them.
Add more light with flash and strobes
Learning to shoot in natural light is important. However, don’t think that just because you are outdoors during the day, that you won’t ever need any lights.
It is more work, but sometimes getting the perfect shot will require additional lighting. Some fill flash to light the face, or to boost the light levels enough to obtain correct exposure.
This becomes very apparent when the track you are shooting is in a wooded area. Under the shade of some trees, a flash or strobe becomes a necessity to stop the action. It can also compensate for bright or uneven sunlight in your background.
Flash units or speedlites are smaller and more portable, but you will typically be able to get better power from a strobe. There are also some neat compact softboxes now available.
The ideal is to place your lights off-camera. That means putting your flash or strobe on a stand or perhaps attaching it to a nearby tree with a flexible mini-tripod. A second light which adds some rim highlights around the rider can really help visually pull them out of the background.
Use remote triggers to ensure your lights will fire when you hit the shutter button. Pay attention to using the correct shutter speed so everything syncs correctly. This time it is the burst of light, not the shutter speed that stops the action.
With this style of shooting, you also need to preplan your shot location, get set up and then wait for the riders to pass the right spot. Since you will create lots of near-identical shots, consider finding a second shooting angle you can use without needing to move your lights. This will add variety to your images.
Whether you are shooting with lights or not, it is better to err on the side of slightly under rather than overexposed. Use the camera histogram, and avoid clipping the highlights. Recovering detail in the shadows of a digital image is relatively easy compared to blown highlights.
Look for key action spots
The best mountain biking images highlight the intensity of the sport. Aim for images of riders fully exerting themselves, pushing their limits, and right on the edge of what looks possible.
If your shoot is planned you can hunt for a stretch of crunchy downhill track, a nice drop, jump, or berm.
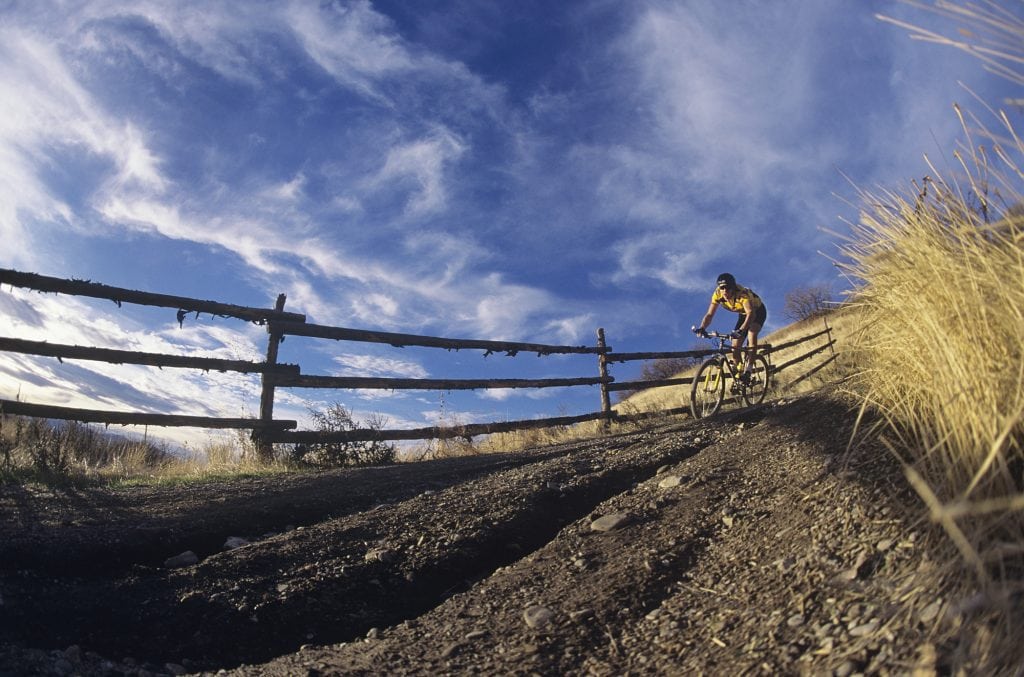
When it comes to composition, action, and tension will be enhanced when you position the riders off-center. Give them some space to be traveling into the frame. Or, accentuate a risky cornering with the feel they are almost pushing right out of the frame. Shooting from low angles also adds drama.
When possible, survey the track ahead of a race and watch the practice runs to locate the most interesting viewpoints.
Tell a story
Now that you have the high-energy action shots, don’t forget to support those images by filling out a narrative. Look for other moments of interest and shoot some details.
Observe the full spectrum of MTB, and work to create a series of images which tell a story. Riders getting ready, the uphill climb, the moments just after finishing a trail. There are plenty of options.
Storytelling is helped along by shooting with a variety of lens lengths. Create more engaging work by capturing a good mix of wide scenic shots, full-length shots of riders, plus some close-ups. A fish-eye lens is a nice addition.
If you have them, make use of your lights to also capture some candid or posed portrait shots of riders.
Working with riders
Many photographers who shoot mountain biking started out as riders themselves. Or, had friends in the sport and got involved by joining rides and taking images. We imagine you are the same.
Start by shooting your friends. As your skills grow you can reach out to other riders. From there you could move onto shooting local events and work your way up to larger events.
Great images are a cooperative effort between rider and shooter. Treat it that as such and everyone involved will come away with a rewarding experience. And, those great images you were seeking.
Be actively immersed in the MTB scene. Make friends, connect with riders, gain respect. It goes a long way to improving your images and opens up more opportunities to shoot.
Be prepared to get physical
If you have a background in mountain biking, you have a reasonable idea of what you are getting into. It is not all about sitting on the sidelines. Be prepared to grab your own bike and get up those mountains as well.
Make sure you think about how you are going to carry your gear. A decent backpack is essential. Find one that suits your equipment and aim to keep your whole kit light and efficient.
It is obviously riskier taking your gear into a MTB environment than just shooting in a studio. Don’t neglect to protect and clean your equipment. Mountain bike photography can be grueling for both photographer and gear.
Shooting mountain biking often begins as a passion pursuit. If you are committed and persistent you might be lucky enough to turn it into a job.
At the beginning, the key is to experiment. Make lots of images. Have fun with it.
And, don’t be surprised if the mission to achieve great MTB shots becomes more than a little addictive.

