Crooked horizons, leaning verticals. We all know there are times we get these lines a little off when composing a shot.
You may also find you have some sideways or upside-down photos in your shoots.
To correct these issues, you need to know how to rotate your photos into position during editing.
Lightroom Classic (LrC) gives you many options to rotate your images. Choices include basic rotate commands, auto-straighten, and the Spirit Level Tool. There are some differences to learn between rotating in the Library and Develop modules. It also varies whether you are rotating one photo or need to rotate multiple photos.
Let’s go through in detail all the methods you can use to rotate and straighten photos in Lightroom Classic (LrC).

How to rotate your photos to a new orientation
Lightroom Classic has menu commands for basic image rotations.
Use these to swap your image between portrait and landscape orientations. That is from vertical to horizontal and vice versa. The Rotate commands will rotate your photos inset 90-degree increments.
These menu commands work in both the Develop Module and the Library Module.
Step 1. Select the photo you want to rotate.
Step 2. Go to Photo in the menu bar.
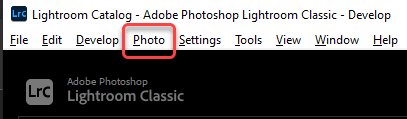
Step 3. In the middle of the drop-down menu, you will see two options—Rotate Left and Rotate Right.
Rotate Left will turn your photo 90 degrees counterclockwise. Rotate Right will turn the image 90 degrees clockwise.
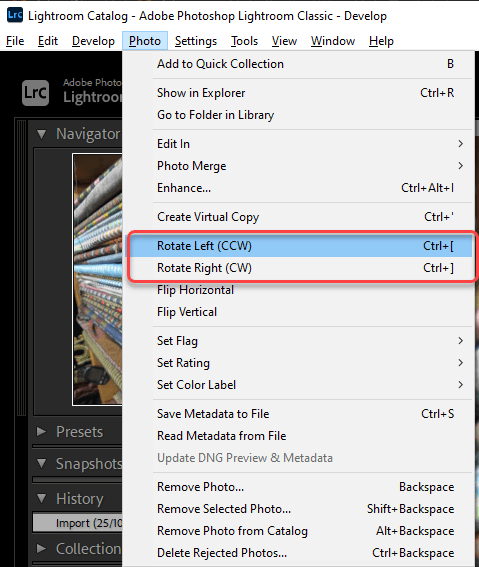
Step 4. When you need to turn your image upside down, click the same rotate command twice. This will rotate your photo 180 degrees in total.
Shortcuts for 90 degree Rotate Commands
In the Photo drop-down menu you will see there are some keyboard shortcuts listed. On a Mac use Cmd + [ or ]. On Windows it is Ctrl + [ or ].
If you ever forget the shortcut for faster rotating, just check in the menu again.
Using the Rotate buttons in the Library Module
There are a couple of Rotate shortcuts that are only available in the Library Module. These are good visual prompts, and quicker to access than using the menu.
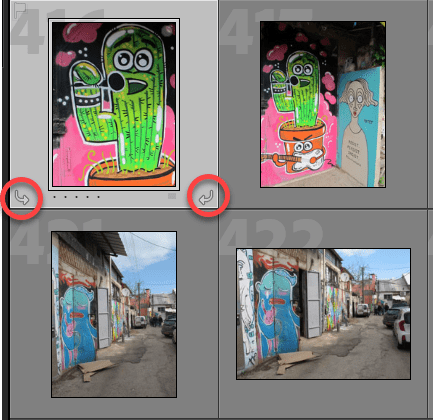
Enter Grid view by pressing G. You will see a full grid of image thumbnails in your main work area.
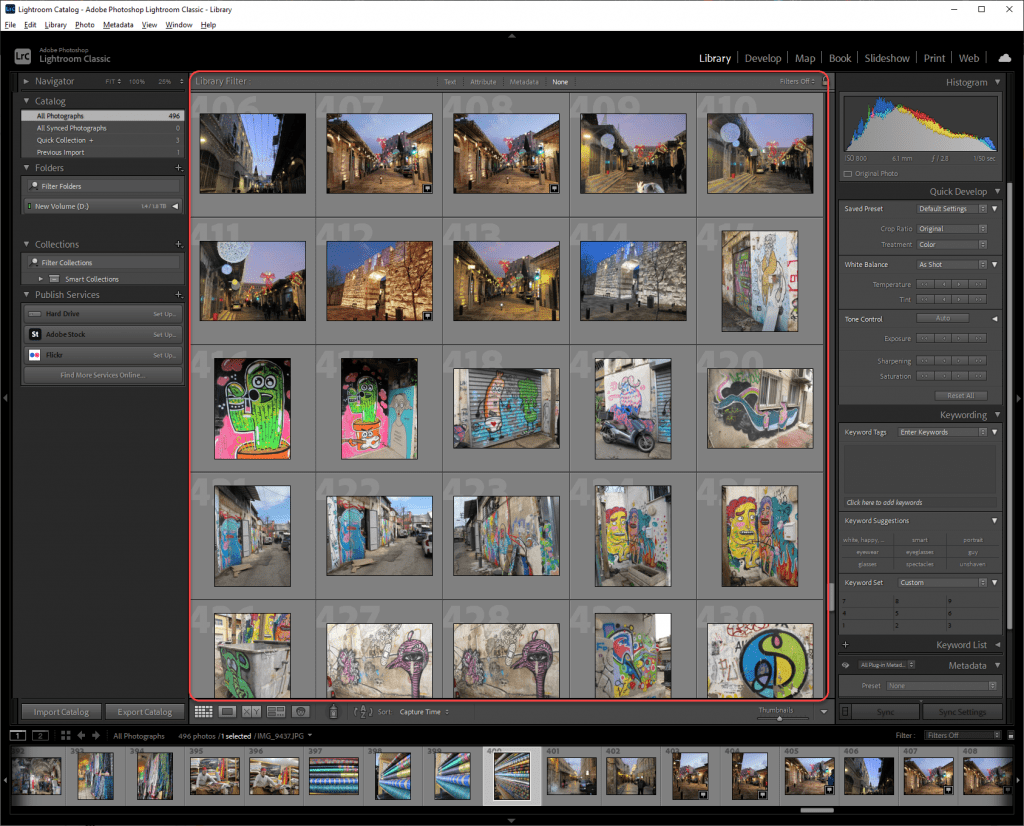
Hover your cursor over an image and rotate buttons that look like curved arrows will appear in the bottom corners of the thumbnail. Click on an arrow to rotate the photo 90 degrees.
You can add handy Rotate buttons to the Toolbar underneath the main workspace. These are not always visible by default. This works for the Grid (G) and Loupe (E) view.
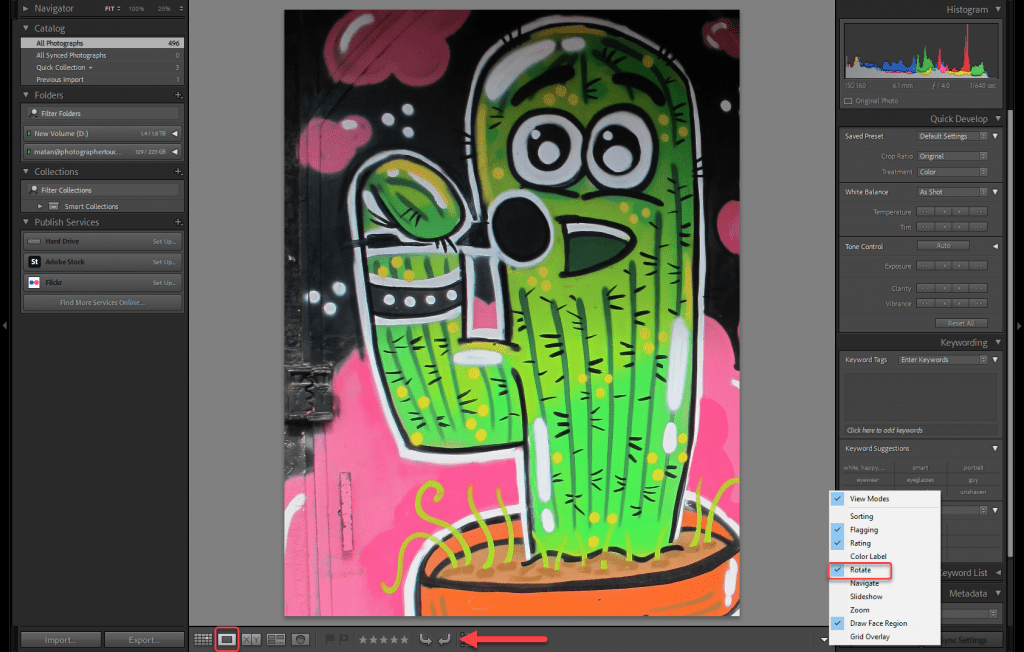
How to add the rotate buttons to the Toolbar
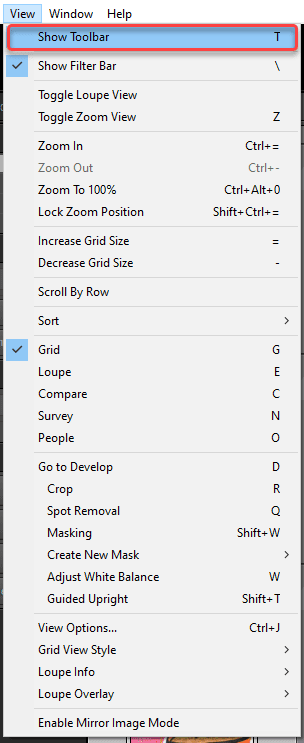
1. Press T to show the toolbar if it is not already visible. In the menu, this is View > Show Toolbar.
2. Click on the little triangle at the right end of the Toolbar.
3. Select Rotate from the list.
You will see a tick next to it when it is visible. Clicking again will hide the buttons.
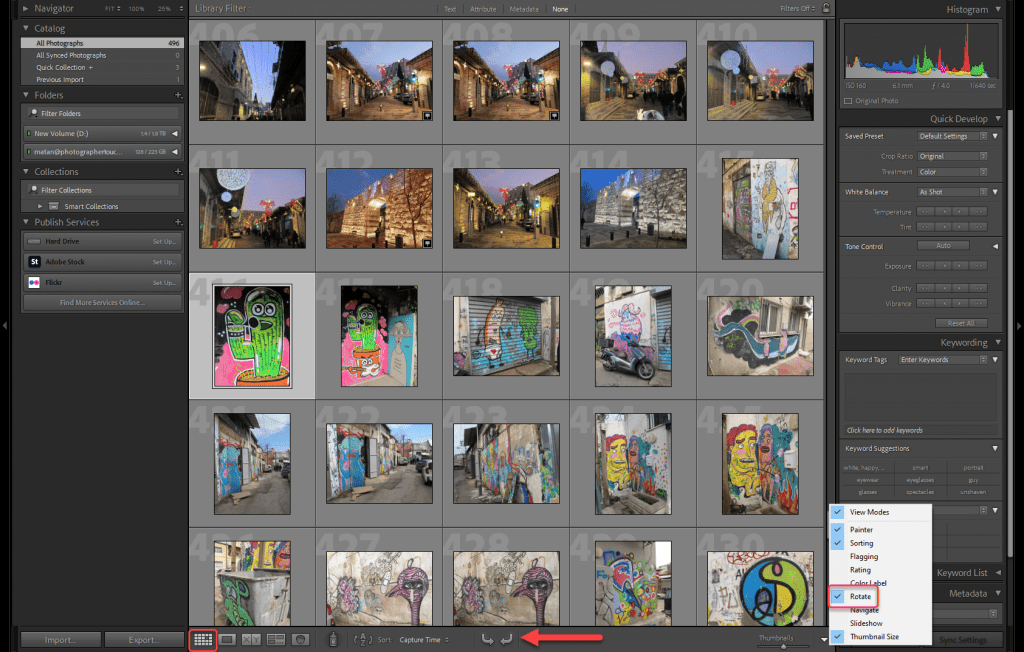
4. When in Grid view you can use the arrows to rotate multiple selected images at once.
Flip your photos
Under the Photo menu, you will also find commands to flip your image.
Again, there are two options. Select from Flip Horizontal or Flip Vertical in the drop-down menu.
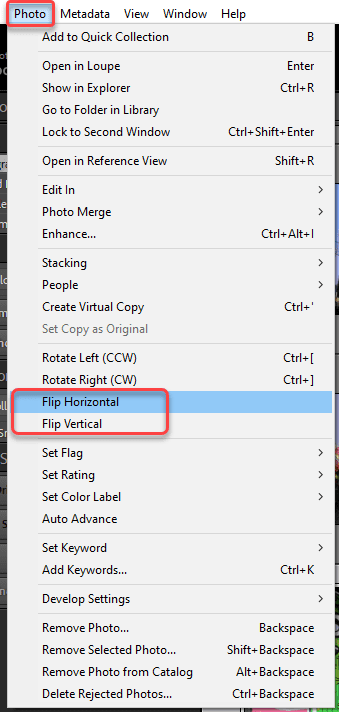
These commands result in a mirror image of your photo.
There are no keyboard shortcuts for flipping images. However, this is something most photographers only need occasionally.
Use the Contextual Menus
Another way to select the rotate commands from the contextual menus. Access these drop-down menus using Ctrl-click on a Mac, or with a right-click on Windows.
As these are contextual, exactly what you see depends on where you click and open the menu.
They work in both the Develop and the Library Modules.
When you open the contextual menu in Grid view in the Library Module, you will see Rotate Left and Rotate Right near the bottom of the menu. It will appear the same if you click on the Filmstrip in either the Library Module or Develop.
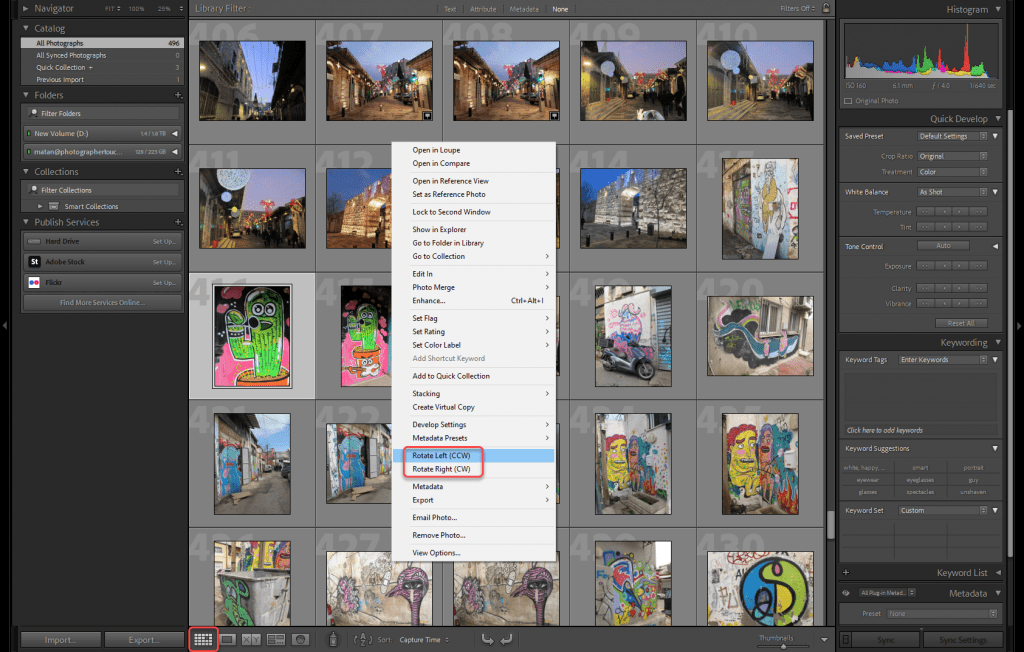
By using the Rotate commands here, it is possible to rotate multiple selected images at once.
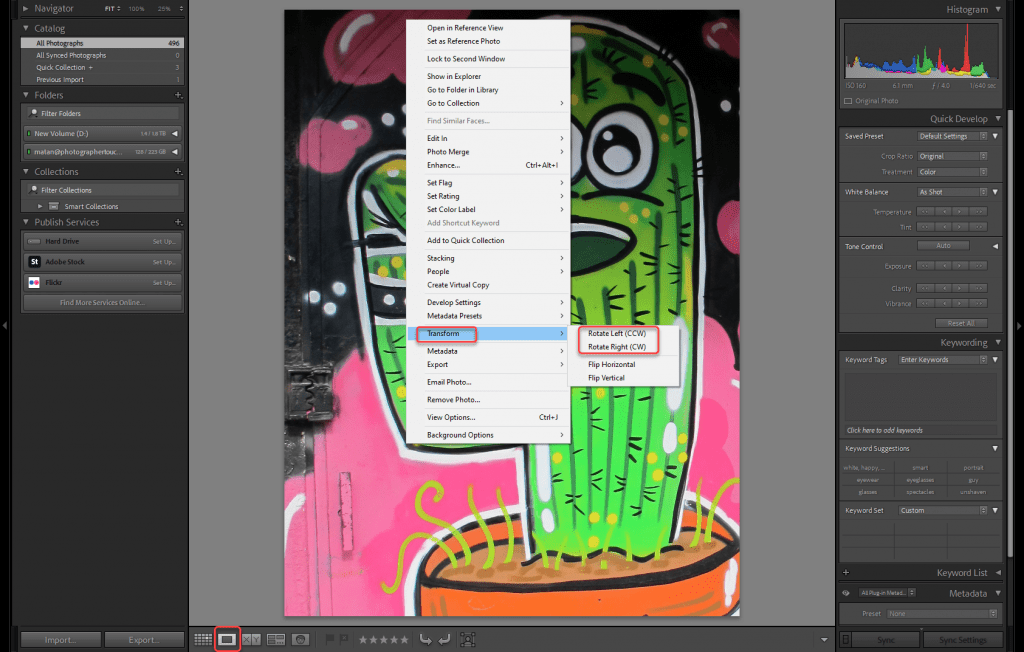
If you click on an image in the main workspace in the Develop Module or when in Loupe view in the Library Module, it will only rotate that single image. Select Transform, then from the sub-menu choose the Rotate or Flip command you wish to apply.
More Related Articles:
- How to create Lightroom presets
- How to Import Photos Into Lightroom Classic
- How to Export Photos From Lightroom
- How to Use Lightroom (an intro to Lightroom)
- How To Remove Glare From Glasses In Lightroom
- How To Remove Shadows In Lightroom
- How To Fix Overexposed Photos In Lightroom
- How To Batch Edit In Lightroom Classic
- How to add watermarks in lightroom
How to straighten your photos in the Develop Module
Now we will look at how to do finer rotation adjustments. This is for those times you need to correct the horizontal and vertical lines in your images.
Make sure you are now in the Develop Module in Lightroom Classic. Use the tabs at the top of the interface, or press D.
How to use the Crop Tool to rotate an image
The Crop Tool is located in the tool strip which sits between the Histogram and the Basic Panel at the right of the interface.

Click on the icon that looks like a grid. You will now see a Crop and Straighten panel open up. You can use this panel to crop your image as well as straighten it. We will focus here on rotation.
Once again Lightroom Classic gives you a few options on how to perform the rotation.
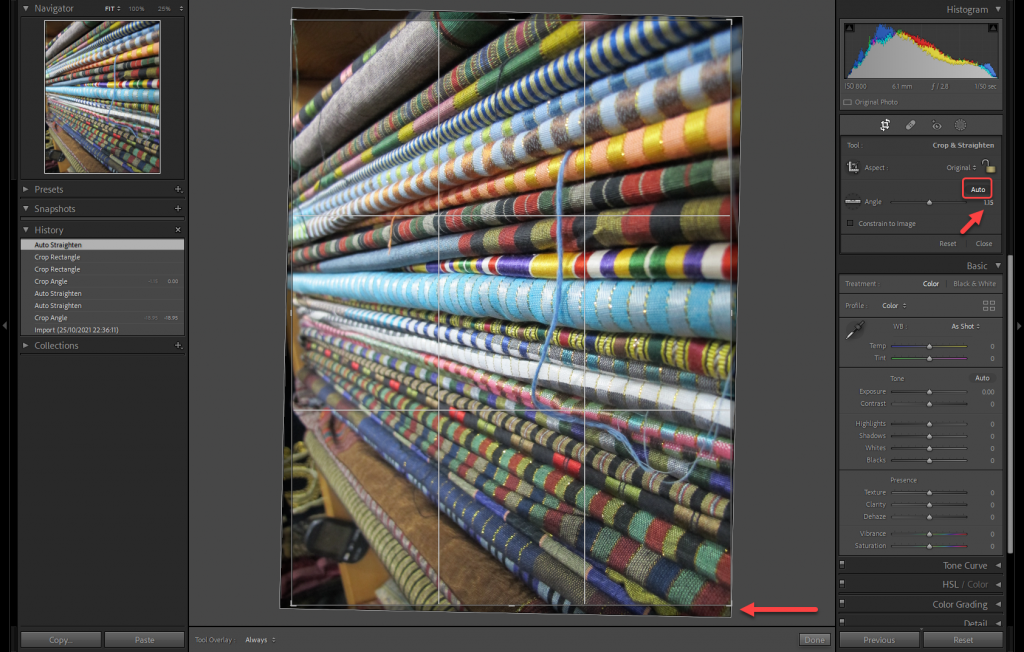
1. Use the Angle section to rotate the image. You can move the slider back and forth to adjust the angle of the image. The image is automatically cropped to maintain the same aspect ratio.
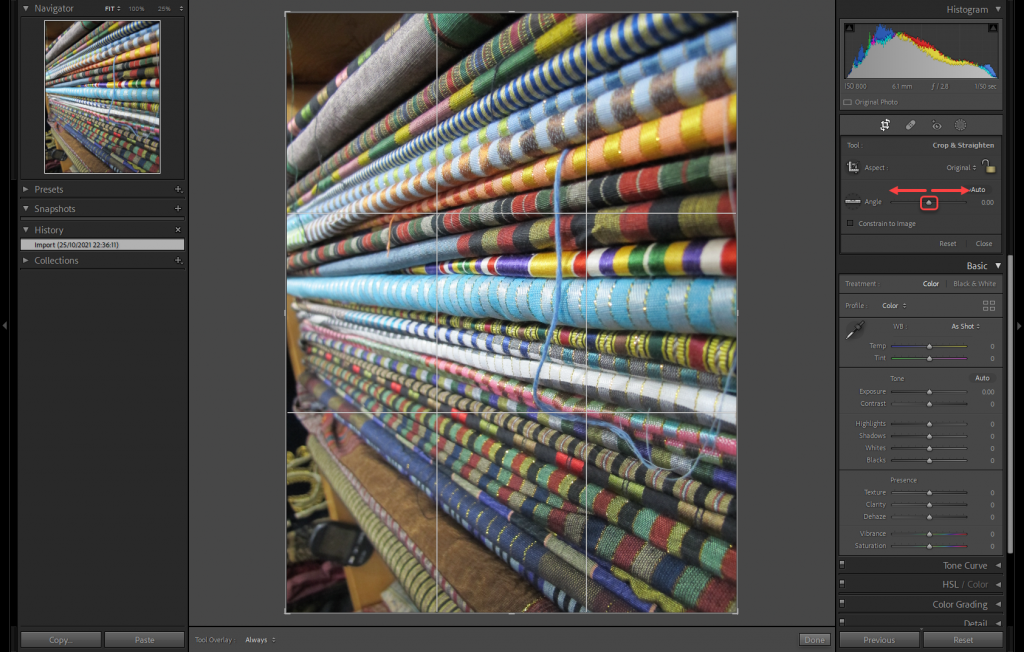

2. Auto-straighten
There is an Auto button on the top right of the slider. Press this to have Lightroom find the correct rotation angle for you. Depending on the image it can do a good job, or be of no great help.
3. Manual rotation
When you hover your cursor just outside the image, it will change to a rotate icon. Now you can move your cursor to control the angle of your image.
You can also manually reposition the image and change the crop boundary if required.
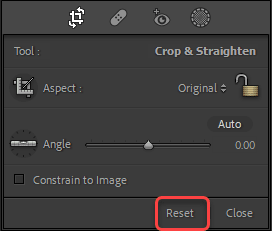
4. Reset
At any time, if you don’t like the result, click on Reset at the bottom of the panel to clear the crop and rotate settings.
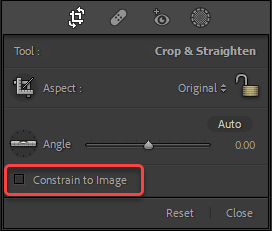
5. At the bottom is a Constrain to Image checked box. This ensures that the image sits completely within the bounds of the crop and rotate. Check it if you have already made other adjustments that resulted in white edges, such as a perspective transformation. At other times you won’t notice any difference with this checked or not.
How to straighten your photos with the Spirit Level
This is a simple and intuitive way to straighten your images in Lightroom. Make sure you have the Crop and Straighten panel open.
Step 1. Pick up the Spirit Level by clicking on the icon to the left of the Angle Slider.
Step 2. Move your cursor over the image area. You will now see it change to a crosshair and Spirit Level icon.
Step 3. Click and drag to draw a line which follows a line in your image you want to be either horizontal or vertical. An obvious example is to trace along the horizon.
When you release, Lightroom will snap the photo into the new position.
Step 4. If you want to trace a new line, then you will need to pick up the Spirit Level Tool again. You can also hold down the Cmd key on a Mac, or Ctrl on Windows to activate the Spirit Level Tool.
Tips and tricks for the Crop and Straighten panel
Use the Crop Overlay
When you move the Angle slider a gridded overlay appears automatically. This can help you align the lines in your photo to be perfect horizontals or verticals.
You can control when this is visible by using the Tool Overlay settings. Find these in the Toolbar below the main workspace. Select from Auto, Always or Never. Auto means it will show when you start to use the sliders or click on the image.
More Overlay Options
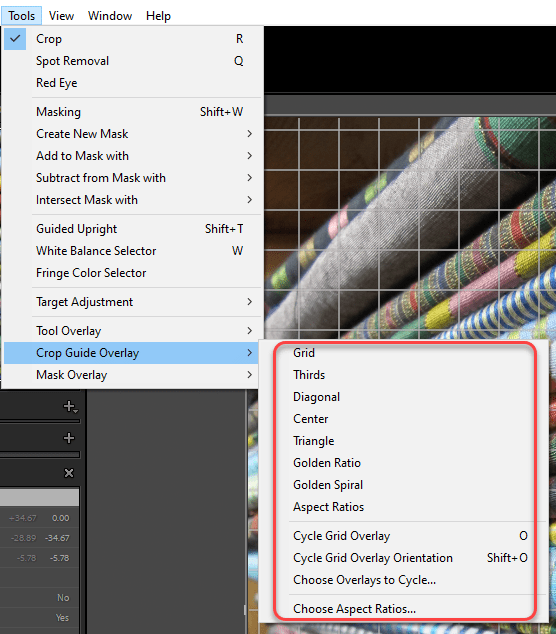
The default crop overlay is a regular grid. This is the most useful for image rotation, but there are other options.
Press O to cycle through alternative overlays, including the rule of thirds and a golden spiral. You can also find these via the Menu bar. Go to Tools > Crop Guide Overlay, then select the overlay you want to use. There is an option to choose which options to cycle through as well.
How to use batch processing to rotate multiple images at once
The methods described above for the Develop Module will straighten only a single image.
Once you have straightened one image, you can Synchronize that setting to other images. This is perfect for when you have a series of images all shot with the same framing.
Step 1. In the Develop Module, select the image which already has the rotation applied.
Step 2. Shift-click or Cmd/Ctrl-click to select all other images you want to copy the edit to.

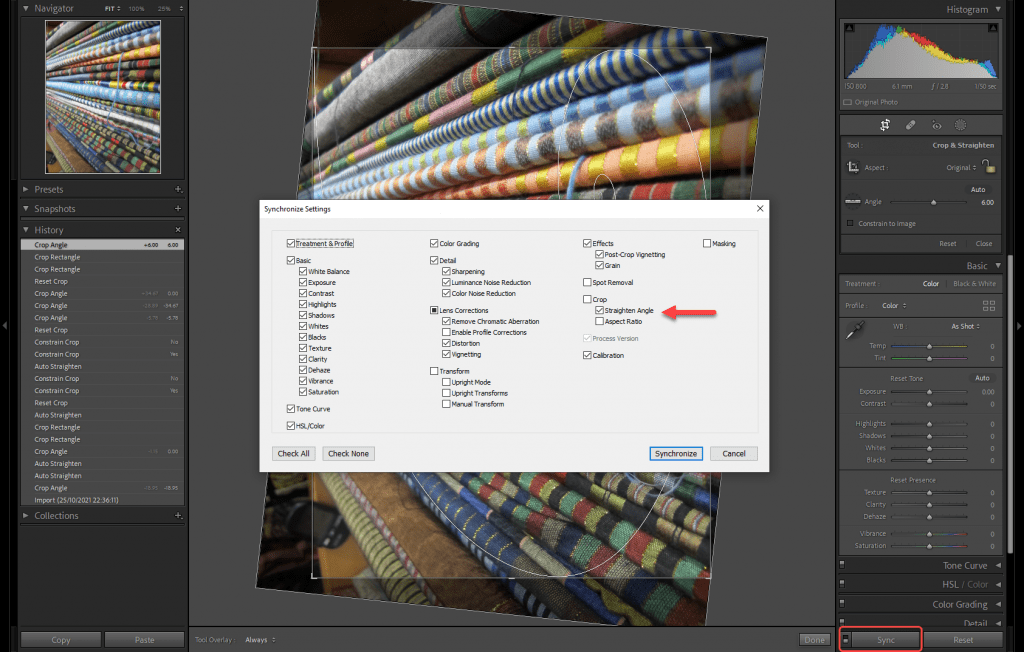
Step 3. Click on Sync at the right side of the interface.
Step 4. In the Synchronize dialogue box, tick Straighten Angle under the Crop section.
Step 5. Click Synchronize to apply. This will copy the rotation of the first image to all other images you selected.
That finishes the rundown of all the ways you can rotate your photos in Lightroom Classic.
There is no shortage of options. Experiment and see which methods suit your workflow and shooting style best.

